|
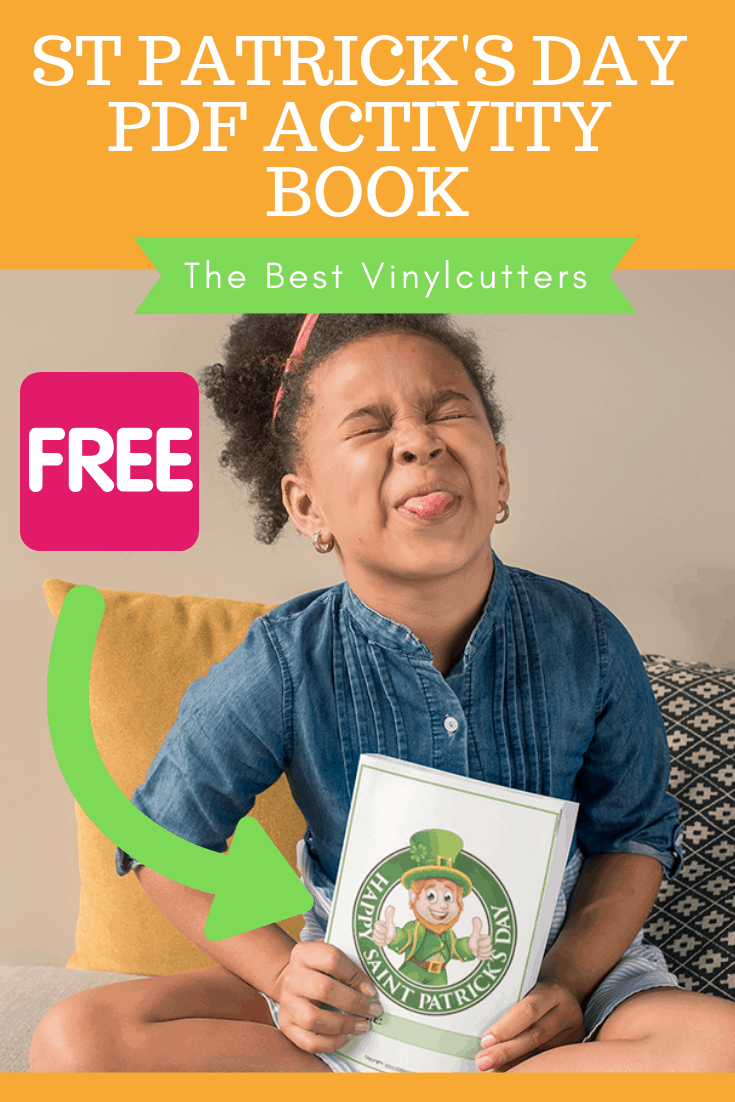
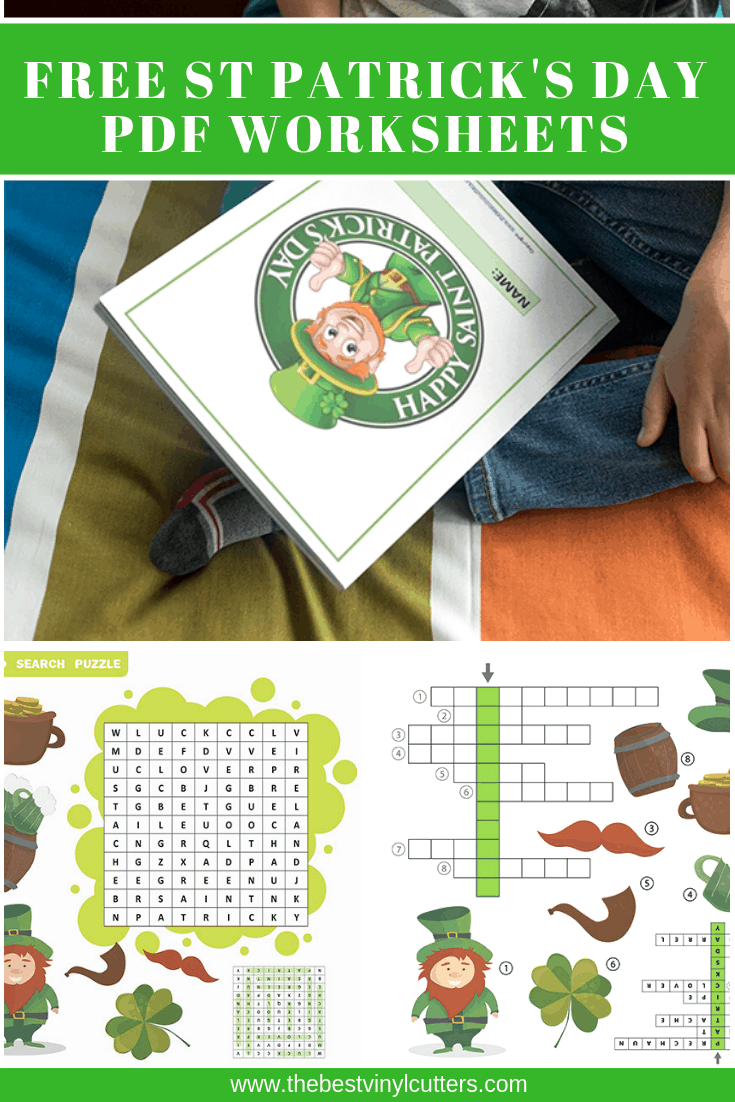
With St. Patrick’s Day around the corner, I thought it would be fun to create a St Patrick’s Day printable PDF for you all to grab. Our PDF is full of some really fun St Patrick’s Day activities for kids. This little collection of worksheets are perfect for younger kids who can work with numbers, follow mazes and tackle word searches. We have also included two free St Patrick’s Day sticker sheets. You will need a sticker maker, cutting machine or printer with sticker paper in order to use these, so I have left them out of the booklet and added them as additional downloads for those who have the right equipment.
Free Printable St Patrick Day Worksheets
Looking for some St Patrick’s Day activities for kids? Our FREE St Patrick’s Day worksheets are perfect for kids to complete at home, during a themed party or even as a fun St. Patrick’s Day classroom activity for kids. Our Saint Patrick’s Day worksheets come in a great little PDF book. We have left in some colorful activities to keep the kids engaged visually, but please feel free to select to print the whole booklet in black-and-white if you wish to save on ink.
Package of St Patrick’s Day Printables Include:
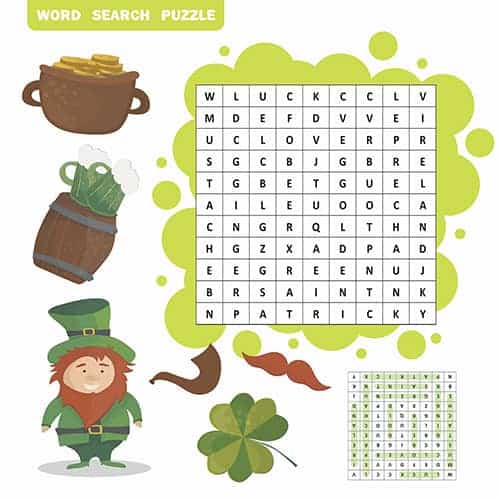
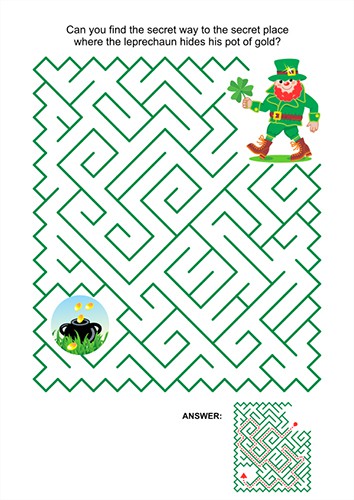
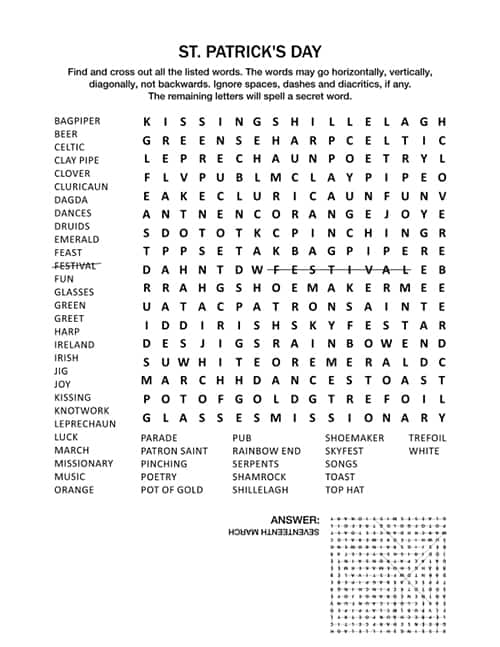
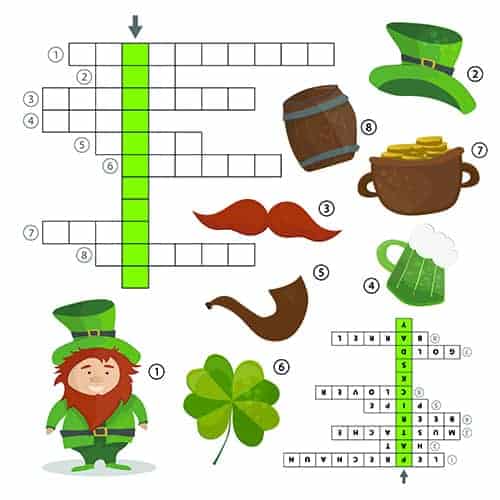
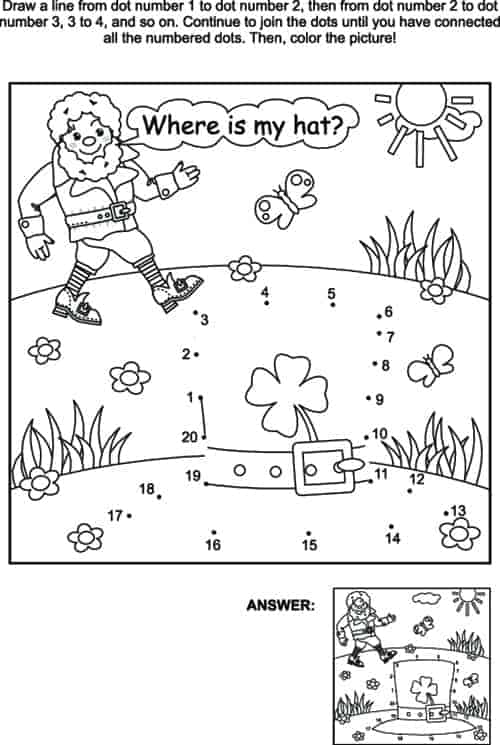
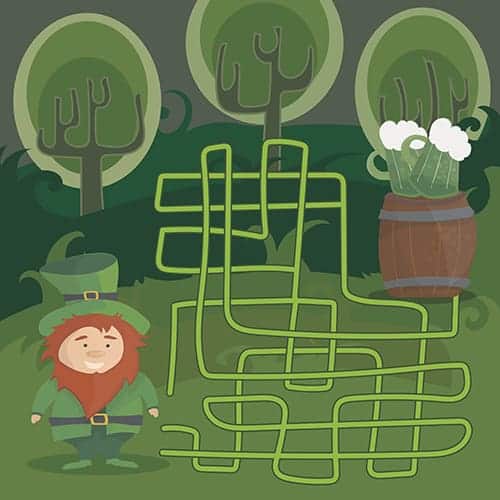
1 x St Patrick’s Day Word Search (Word to Find are Included) 1 x St Patrick’s Day Word Search Puzzle (No Words Included – Great Exercise for the Brain) 2 x Dot-to-Dot Activities that can also be colored in once completed 1 x Maze 1 x Crossword Puzzle (Answers Included) 1 x Find the Correct Path Activity
How to Download the Free St Patrick’s Day PrintablesClick the image or link below to download the St Patrick’s Day children’s activities PDF file. Then, open the PDF and simply print from your home computer.
CLICK HERE TO DOWNLOAD
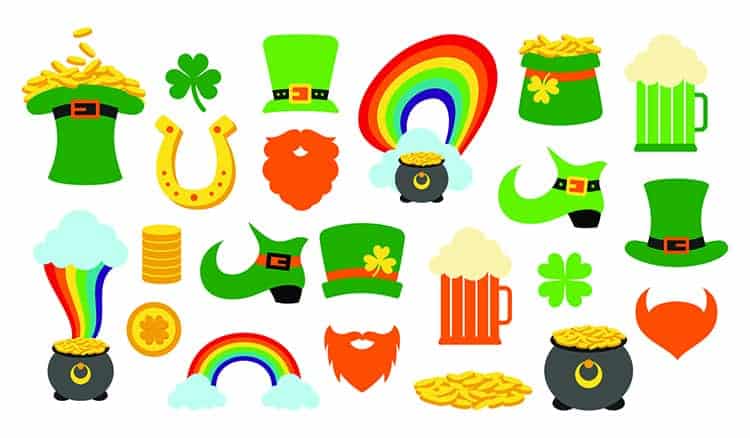
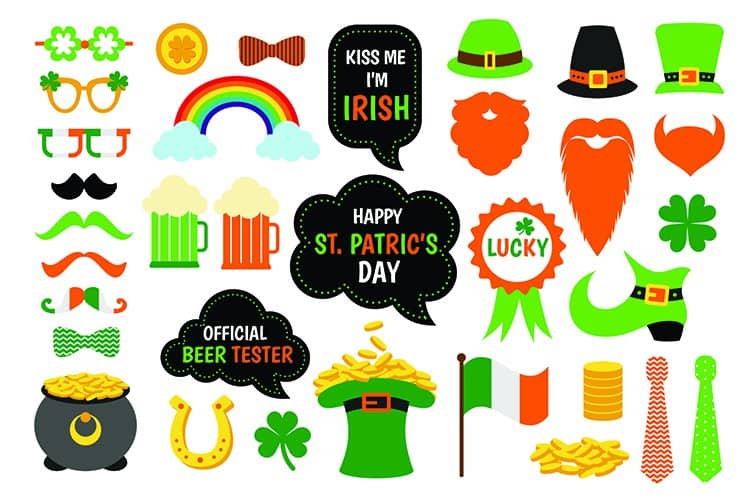
Free Printable St Patrick Day Sticker SheetsI also wanted to include these fun sticker sheets to add to our little collection of free printable St Patrick Day activities. These are great fun for the kids and you can easily use them to create some beautiful custom St Patrick’s Day cards as well. Important to note, that you will need to have a vinyl sticker maker or a vinyl cutting machine in order to turn this .jpg into beautiful individual stickers. I love printing mine out onto some good quality adhesive vinyl. You can also print them out on sticker paper and just roughly cut each one out, but I much prefer the ease of getting my machine to contour cut around each shape.
How to Download the Free St Patrick’s Day StickersClick the image or link below to download the stickers file. Then, open the PDF and simply print from your home computer or send it to your cutting machine to cut out on some adhesive vinyl.
CLICK HERE TO DOWNLOAD
CLICK HERE TO DOWNLOAD
I hope you have enjoyed our collection of FREE St Patrick’s Day activities for children. For easy access here is the link to print a full-size copy of the St Patrick Day printable activities or find the St. Patrick’s Day FREE PDF HERE.
Happy St. Patrick’s Day! The following article Really Fun Free Printable St Patrick’s Day Worksheets for Kids was originally published to: https://thebestvinylcutters.com via WordPress https://cuttercraftsbysamantha.wordpress.com/2019/02/01/really-fun-free-printable-st-patricks-day-worksheets-for-kids/
1 Comment
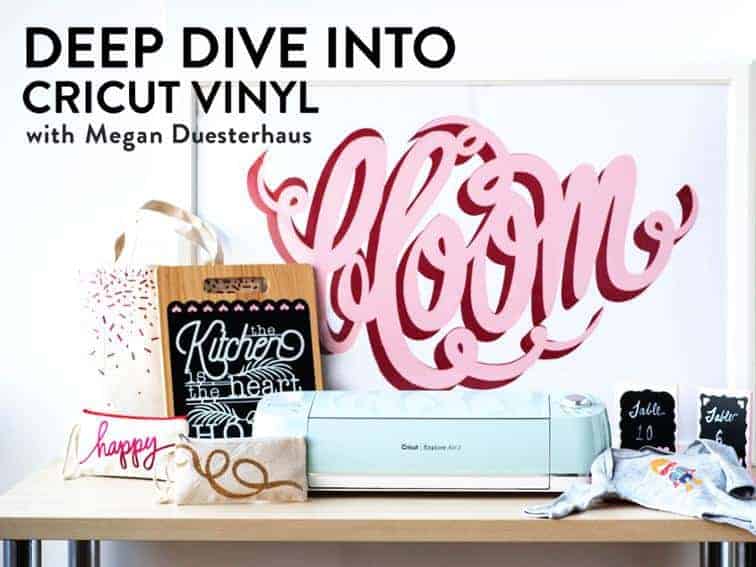
I love all things Cricut. I’m not going to lie, I’m a massive fan of Cricut! I love the Cricut Cutting Machines and I’m a massive fan of their products, especially the Cricut Iron On Vinyl. Honestly, you can take any garment or product and change it from drab to fab by simply adding some iron on Cricut vinyl to it. [easyazon_image align=”center” cart=”n” cloak=”n” height=”800″ identifier=”B00BV50AI0″ locale=”US” localize=”y” nw=”y” nf=”y” src=”https://www.thebestvinylcutters.com/wp-content/uploads/2018/11/81iYyAfhSxL.jpg” tag=”bestvinylmachines-20″ width=”533″] Wondering how to use Cricut Iron On? To be honest, there is a slight learning curve when it comes to working with iron on and you might even mess up a few products whilst trying to get the hang of it. But don’t worry, that is what this whole entire post is for. So let’s make a start with the Cricut Iron On Vinyl tutorial.
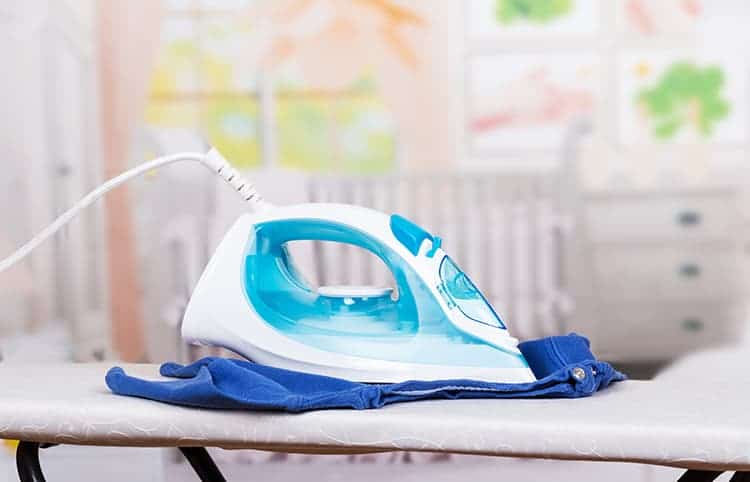
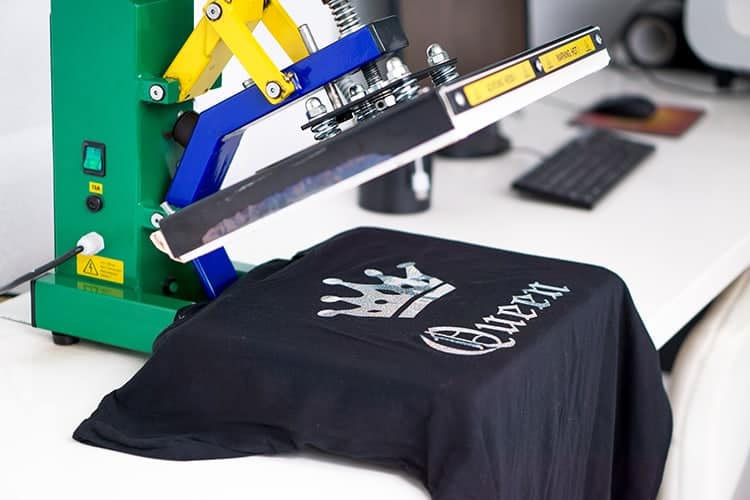
Ultimate Guide to Cricut Iron On HTV[easyazon_image align=”center” cart=”n” cloak=”n” height=”713″ identifier=”B00ZQ1CUQ0″ locale=”US” localize=”y” nw=”y” nf=”y” src=”https://www.thebestvinylcutters.com/wp-content/uploads/2018/11/91o7GiFvy5L.jpg” tag=”bestvinylmachines-20″ width=”800″] 1. What is Cricut Iron On Vinyl & What is it Used For?Before we dive into how to use iron-on vinyl, it is really important to understand exactly what Cricut Vinyl Iron On is (and what it is not). Cricut designed special HTV (heat transfer vinyl) which is also known as iron on vinyl. They made their own brand iron on vinyl for Cricut machines, but of course, you can indeed use the Cricut Iron On for other brand machines as well. Basically, it is a type of vinyl that adheres to surfaces with the application of heat. So you will either need an iron (not ideal), a Cricut EasyPress (for hobby-users) or a decent heat press (for advanced users) in order to adhere the vinyl to a fabric surface. It is typically used to add beautiful vinyl designs to products such as canvas bags, t-shirts, cushion, umbrellas, curtains & more. [easyazon_image align=”center” cart=”n” cloak=”n” height=”533″ identifier=”B00BV4IPYW” locale=”US” localize=”y” nw=”y” nf=”y” src=”https://www.thebestvinylcutters.com/wp-content/uploads/2018/11/81gNMBrVEPL.jpg” tag=”bestvinylmachines-20″ width=”800″] But you can get even more creative by applying it to wood, metal, and more!
2. Different Types of Cricut Iron On Transfer VinylThe next thing that you should know before we dive into the Cricut iron on instructions, is that there are currently 7 different types of iron-on vinyl. [easyazon_image align=”center” cart=”n” cloak=”n” height=”800″ identifier=”B07D3QCW5B” locale=”US” localize=”y” nw=”y” nf=”y” src=”https://www.thebestvinylcutters.com/wp-content/uploads/2018/11/91QY9SjEvEL.jpg” tag=”bestvinylmachines-20″ width=”800″] Some are easier to work with than others. We will outline which we recommend you should start off with, and which type would be more suitable for advanced users. a) Cricut Iron On EverydayThe Everyday Iron-On by Cricut is probably your go-to iron on when you aren’t sure which type of iron-on to use. This vinyl is so easy to use that you can use it on the widest range of surfaces – even wood! Cricut Iron On Everyday is a standard heat transfer vinyl that comes in 12 x 24″ pieces. It is currently available in 17 different solid colors.
|


 f) Cricut Patterned Iron On

|
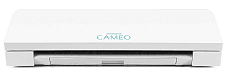
SILHOUETTE CAMEO 3 |
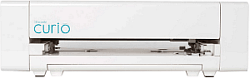
SILHOUETTE CURIO |
|
|---|---|---|
|
Image |
 |
 |
|
Star Rating |
||
|
Cut and Draw |
||
|
Score |
||
|
Emboss and Deboss |
||
|
Etch |
||
|
Stipple |
||
|
Dual Carriages |
||
|
Auto Blade |
||
|
Bluetooth |
||
|
Cutting Size |
12″ x 10′ |
8.5″ x 6″ 8.5″ x 12″ (with large tray purchase) |
|
Cutting Clearance |
2mm |
5mm |
|
Cutting Force |
210 grams |
210 grams |
|
Release Date |
2016 |
2015 |
|
Check Price |
CHECK PRICE | CHECK PRICE |
Summary of Main Difference between the Silhouette Cameo 3 and Curio
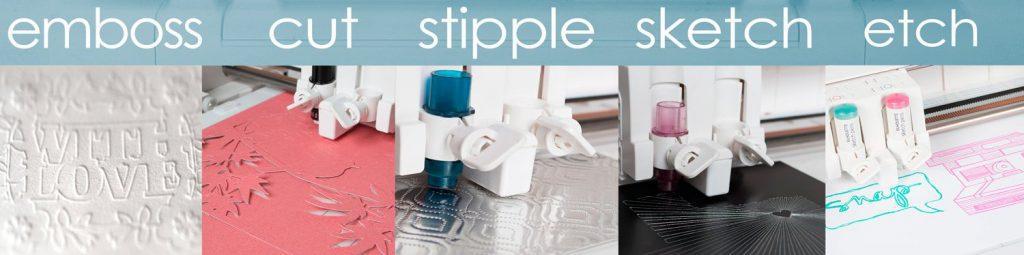
The main difference between the Cameo 3 and Curio is that the Silhouette Curio is more versatile, in that it can cut, score, emboss, deboss, etch and stipple.
The Curio has a much smaller cutting surface of 8.5″ by 12″, compared to the Cameo 3, which has a decent cutting surface of 12″ wide and up to 10 feet long.
If you wish to purchase a machine that will be used for cutting, we highly recommend you invest in the Cameo 3, but if you are after a machine that has added features, the Curio might be for you.
Keep reading the rest of the post to find more in-depth information and videos to help you decide which machine is the right one for you!
Silhouette Curio Overview
The Curio Cutting Machine is one of the best DIY electric die cutting and embossing machines on the market.
With this nifty machine you can enjoy crafting a wide range of Curio Projects.
This cutter does not only have the ability to cut and draw, but it can also emboss, deboss, score, sketch, stipple, and etch. Pretty impressive huh!?
[easyazon_image align=”center” height=”500″ identifier=”B01MRHTLCZ” locale=”US” nw=”y” src=”https://www.thebestvinylcutters.com/wp-content/uploads/2017/06/515JNOojdKL-1.jpg” tag=”bestvinylmachines-20″ width=”500″]
Whilst the machine sounds too good to be true, it does come with its limitations though.
Where the Curio is more versatile than the Cameo Vinyl Cutter, it offers a much smaller cutting size.
The Curio has an 8.5 inch by 12-inch cutting surface, compared to the vinyl cutter Cameo 3, which is capable of cutting 12 inches wide and up to 10 feet long.
Below you will find a quick Silhouette Curio Video to outline all of the positive features of the machine.
The Curio Vinyl Cutter has been designed to be a companion machine to your favorite vinyl cutter, rather than a stand-alone cutter.
[tcb-script type=”text/javascript”]amzn_assoc_tracking_id = “bestvinylmachines-20”;amzn_assoc_ad_mode = “manual”;amzn_assoc_ad_type = “smart”;amzn_assoc_marketplace = “amazon”;amzn_assoc_region = “US”;amzn_assoc_design = “enhanced_links”;amzn_assoc_asins = “B00ZOU0W4K”;amzn_assoc_placement = “adunit”;amzn_assoc_linkid = “4f431b95b72bdb95ea81f64ca7380405″;[/tcb-script][tcb-script src=”//z-na.amazon-adsystem.com/widgets/onejs?MarketPlace=US”][/tcb-script]
Silhouette Cameo 3 Overview
The Cameo Silhouette 3 is one of the top selling vinyl cutters on the market in 2018. What makes this machine so popular?
[easyazon_image align=”center” height=”333″ identifier=”B01I51ME1S” locale=”US” nw=”y” src=”https://www.thebestvinylcutters.com/wp-content/uploads/2017/06/516wlMJPn1L.jpg” tag=”bestvinylmachines-20″ width=”500″]
In comparison to the Curio Plotter, the Cameo 3 is more focused on being brilliant at cutting and drawing. It has the ability to work with over 100+ material and will deliver precise and intricate cutting of designs.
The Silhouette Cameo 3 features a much larger cutting size (12″ x 10 feet) and has the very intuitive autoblade which auto-adjusts its blade depth to the material to be cut.
I really feel that the Cameo 3 is the best vinyl cutter for the money.
Below is a quick Silhouette Cameo 3 video to showcase its most prominent features.
[tcb-script type=”text/javascript”]amzn_assoc_tracking_id = “wanderlstoryt-20”;amzn_assoc_ad_mode = “manual”;amzn_assoc_ad_type = “smart”;amzn_assoc_marketplace = “amazon”;amzn_assoc_region = “US”;amzn_assoc_design = “enhanced_links”;amzn_assoc_asins = “B01I51ME1S”;amzn_assoc_placement = “adunit”;amzn_assoc_linkid = “22a62412bbc5f8923f7925928e4b0b59″;[/tcb-script][tcb-script src=”//z-na.amazon-adsystem.com/widgets/onejs?MarketPlace=US”][/tcb-script]
Both the Curio Plotter and the Cameo 3 has the ability to do two jobs at once, thanks to the dual carriage. They also both use the PixScan software.
>>> READ OUR FULL CAMEO SILHOUETTE 3 REVIEW
>>> GRAB THE BEST CAMEO 3 BUNDLE DEAL
What can the Curio Cutter do that the Cameo 3 machine can’t?
Let’s take a closer look at the Curio Silhouette vs Cameo 3.
The Curio can tackle a large variety of gorgeous Silhouette Curio projects.
More specifically the Curio has the following unique features:
- Stipple Metal and Foil
- Etch Metal
- Emboss and Deboss
- Score
- Can work with much thicker materials (up to 5mm thick in comparison to Cameo’s 2mm)
What can the Cameo 3 do that the Curio machine can’t?
The Silhouette Cameo Version 3 has its own set of brilliant features and these include:
- Bluetooth Technology
- Ability to use the machine without a computer
- Larger cutting surface (12″ x 10 foot) in comparison to Curio’s tiny 8.5″ x 6″ (which you can extend to 8.5″ x 12″ if you purchase the silhouette curio large base set)
- Autoblade Feature – the autoblade will auto-adjust its cutting to the depth of the material you are using.
Curio vs Cameo 3 Comparison Video
Here is a great video showcasing how the Silhouette Curio Cutting Tool stacks up against the Cameo 3 Silhouette.
The video clearly outlines the difference between the Silhouette Curio vs Silhouette Cameo 3 Vinyl Cutter.
Which one is the one for you?
Have you managed to figure out which one is for you? Let’s break it down further to see whether the Curio Silhouette or Cameo is for you.
Do you need a machine that can emboss, deboss, etch, stipple as well as draw and cut?
- The Curio has a lot more functions on offer, but the compromise is that your working space is pretty small.
Do you need a machine that has a decent cutting size on offer?
- The Cameo 3 is perfect for those who wish to work on larger cutting surfaces. It is a popular machine for scrapbookers as well as sign-makers and T shirt transfer businesses.
Do you want to have your machine away from your computer and out of the way?
- The Cameo 3 has bluetooth which means it can talk to your computer wirelessly.
Do you want the cheapest machine?
- The Curio is slightly older, being released a year before the Cameo 3, and therefore comes at a cheaper price.
Remember, the Curio was designed to accompany your current vinyl cutter. If this is your first vinyl cutter purchase, we highly recommend the Cameo 3.
If you have a great vinyl cutter and you want to add the versatility of adding embossing, etching and stippling features to your projects, then we suggest you purchase the Curio.
If you have some money to invest, you could also look at getting the perfect combination of both machines together!
PURCHASE CAMEO 3PURCHASE THE CURIO
Still not sure if these vinyl cutters are right for you? Why not read our super helpful and detailed vinyl cutter reviews guide or try our die cut machine comparison guide if you are a paper crafter.
And once you have purchased your machine, you might like to check out our list of free SVG files for silhouette available for download.
Over to You
- Which one will you buy? The Silhouette Cameo or Curio?
- Do you think the Silhouette Curio Digital Crafting Machine is worth the money?
- Which machine do you think won the great Cameo Curio battle-off?
- Can you add any more helpful info for our readers to help you decide between the Silhouette Cameo 3 vs Silhouette Curio
PLEASE PIN ME

Silhouette Curio vs Cameo 3 – Which Cutter Should you Buy? is republished from: https://www.thebestvinylcutters.com/
via WordPress https://cuttercraftsbysamantha.wordpress.com/2018/11/28/silhouette-curio-vs-cameo-3-which-cutter-should-you-buy/
So you know someone who is in love with anything and all things Cricut. We will share some top-notch gift ideas of what you can purchase for the Cricut fan in your life.
From the newest and latest Cricut machines to Cricut accessories, tools, storage and more! Here is a list of the best Cricut gift ideas of 2019!
The Absolute Best Cricut Gift Ideas of 2019
Find below a list of our favorite Cricut products for 2019. You can’t go wrong with this products. Everybody wants them because they are new, they are pretty and they are fun.
1. The Cricut EasyPress 2
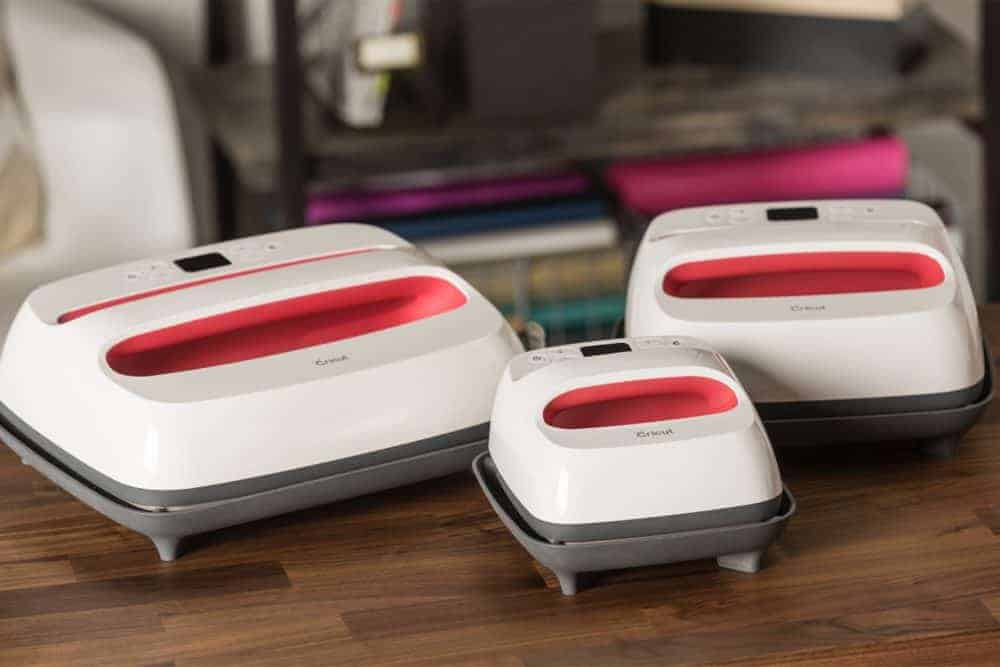
The Cricut EasyPress 2 is brand new! I know that crafters all have a secret desire to have the newest and latest of everything and this is it! The newest release by Cricut.
The EasyPress is great for those who love working with vinyl designs. Those who love making their own custom shirts, bags, backpacks, hats and more.
[easyazon_image align=”center” cart=”n” cloak=”n” height=”569″ identifier=”B07G51F71X” locale=”US” localize=”y” nw=”y” nf=”y” src=”https://www.thebestvinylcutters.com/wp-content/uploads/2018/11/71MDzUpzsnL.jpg” tag=”bestvinylmachines-20″ width=”850″]
The press is available in three nifty sizes – 6 x 7″, 9 x 9″ and 10 x 12″. Not sure what size to get? The 9 x 9″ is by far the most popular. But we have a handy post here that will walk you through trying to figure out which size would be best for the Cricut fanatic in your life.
Everybody wants an EasyPress, most crafters see this item as a “SPLURGE” item rather than a necessary item, which means that it would make the perfect gift.
Does this sound like the perfect gift?
You can click here to quickly check the latest pricing of the EasyPress 2 on Amazon.
2. Cricut Maker Cutting Machine
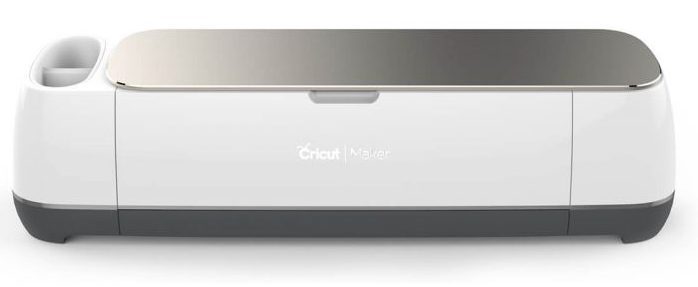
Not limited with $$$ for the gift and really after a gift that will ‘WOW’ the socks of your Cricut fan?
The Cricut Maker is by far the most impressive cutting machine on the market currently. This machine can cut anything and everything. It is especially a brilliant gift for those who love working with fabric, vinyl or cardstock.
[easyazon_image align=”center” cart=”n” cloak=”n” height=”569″ identifier=”B072VYPWM4″ locale=”US” localize=”y” nw=”y” nf=”y” src=”https://www.thebestvinylcutters.com/wp-content/uploads/2018/11/91cffpQlm2L.jpg” tag=”bestvinylmachines-20″ width=”850″]
You can either grab the machine by itself or if you are really keen, you can purchase a whole Cricut Maker bundle (which will include all sorts of extras, from tools, accessories and more!).
- Click here to see our favorite Cricut Maker bundles.
- Click here to read our review of the Cricut Maker.
Does this sound like the perfect gift?
Click here to check current pricing for the Cricut Maker machine.
3. Cricut Ultimate Fine Point Pen Set

After something a little bit cheaper? Or maybe A LOT cheaper? That is fair enough!
This Cricut Ultimate Fine Point Pen set is a brilliant gift. Nobody likes spending their own $$$ on pens when you can purchase all sorts of pretty stuff like ribbons and pretty paper instead. But all crafters need pens! So this gift will definitely be practical and handy.
There are 30 gorgeous colors in this set and are just the thing to use with Cricut’s drawing features.
Does this sound like the perfect gift?
Click here to check current pricing for the Cricut Fine Point Pen Set.
4. Cricut Essential Tool Set
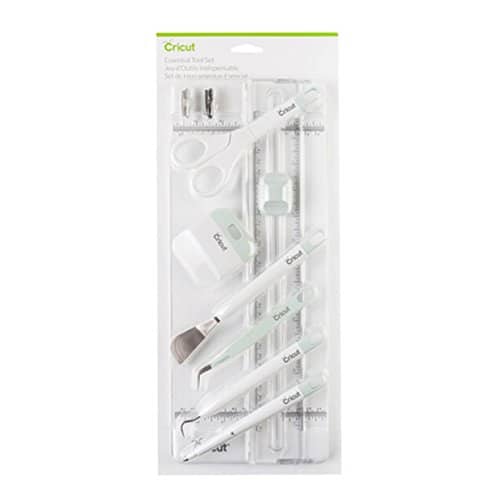
Another really affordable and fabulous Cricut gift is this Essential Tool Set!
Your Cricut fan might already have these tools, but as with any tools, they wear down and eventually, you have to replace them with new ones. I can promise you now that these tools WILL GET USED.
The set includes scissors, a scraper, a spatula, tweezers, a weeder, a scoring stylus, and a paper trimmer (with blade replacement and scoring blade).
Does this sound like the perfect gift?
Click here to check current pricing for the Cricut Essential Tool Set.
5. Cricut Explore Air 2 Cutting Machine
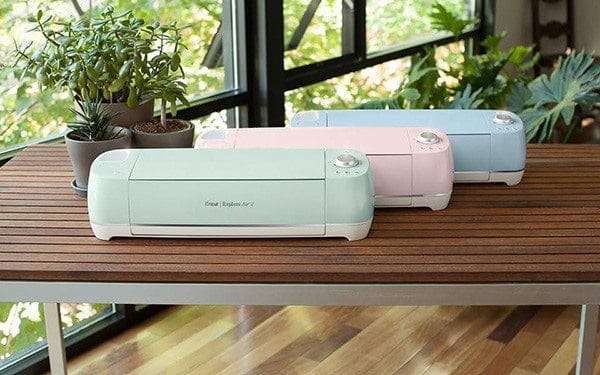
Our best selling machine here from The Best Vinyl Cutters is for sure the Cricut Explore Air 2 cutter. This machine is truly a fabulous machine for a fabulous price.
Most crafters can’t reach the high price tag of the Cricut Maker and this is definitely the next best thing.
A fabulous DIY cutting machine that allows you to work with over 50+ different types of material.
You can either grab the machine by itself or if you are really keen, you can purchase a whole Cricut Explore Air 2 bundle (which will include all sorts of extras, from tools, accessories and more!).
- Click here to see our favorite Cricut Explore Air 2 bundles.
- Click here to read our review of the Cricut Explore Air 2 Machine.
Does this sound like the perfect gift?
Click here to check current pricing for the Cricut Explore Air 2 machine.
6. Cricut Rotary Cutting Kit
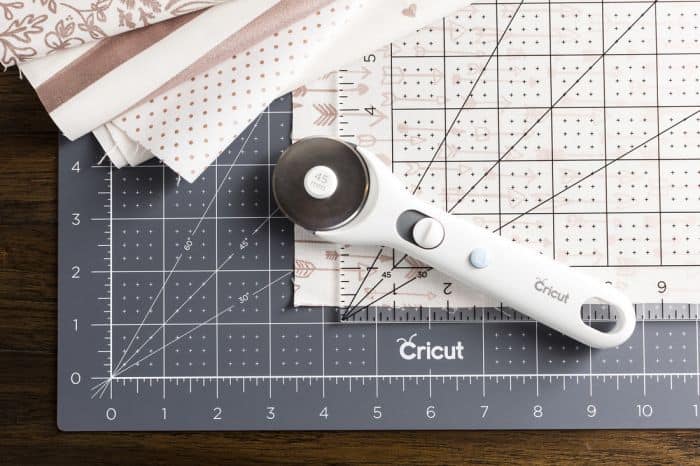
This kit is brilliant for anyone who loves working with fabric. So if your Cricut fan makes things like toys, pillows, quilts, soft toys etc. then this will be a great gift for him/her.
The Cricut Rotary Cutting Kit includes:
• 45 mm Rotary Cutter
• Longer-lasting 18” x 24” double-sided self-healing mat
• Oversized 12” x 24” Acrylic Ruler
Does this sound like the perfect gift?
Click here to check current pricing for the Cricut Rotary Cutting Kit
7. Online Class
Now, if you think that your Cricut fan has absolutely all the tools, accessories and machines that they could possibly wish for, another great idea is an online Cricut class.
It is always fun to learn new skills. These classes are online and you can complete them in your own time and from the comfort of your own home.
You can find all sorts of inspiring classes online.
We love trying out classes on Craftsy.
8. Cricut Rolling Tote
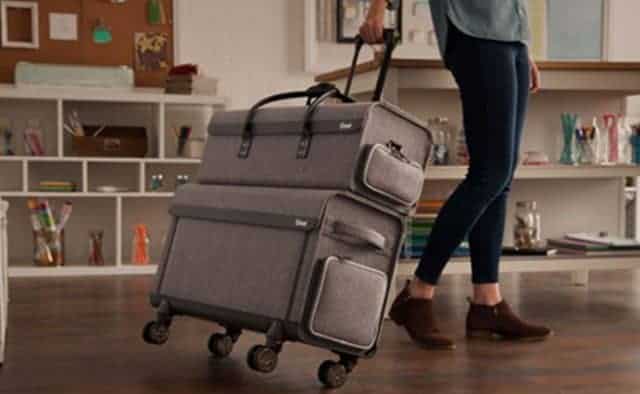
These bags are brilliant for anybody who loves crafting away from home.
Simply pop your cutting machine in the bag and add some supplies in the pockets – and you are ready to go!
What makes these rolling totes so fabulous?
• Easy rolling premium craft bag
• Hand-crafted, quality construction
• Multiple compartments, pockets, and detachable storage
• Specially designed to hold rolls of vinyl, iron-on and more
• Multi-directional wheels roll in any direction
• Machine and supplies sold separately
The bags measure L: 26″, W: 10.25″, H: 14.38″ – so it is important to check that their machine will actually fit in this bag.
Does this sound like the perfect gift?
Click here to check current pricing for the Cricut Rolling Tote
9. Cricut BrightPad
[easyazon_image align=”center” cart=”n” cloak=”n” height=”569″ identifier=”B072ND9W9V” locale=”US” localize=”y” nw=”y” nf=”y” src=”https://www.thebestvinylcutters.com/wp-content/uploads/2018/11/81IShBEd4AL.jpg” tag=”bestvinylmachines-20″ width=”850″]
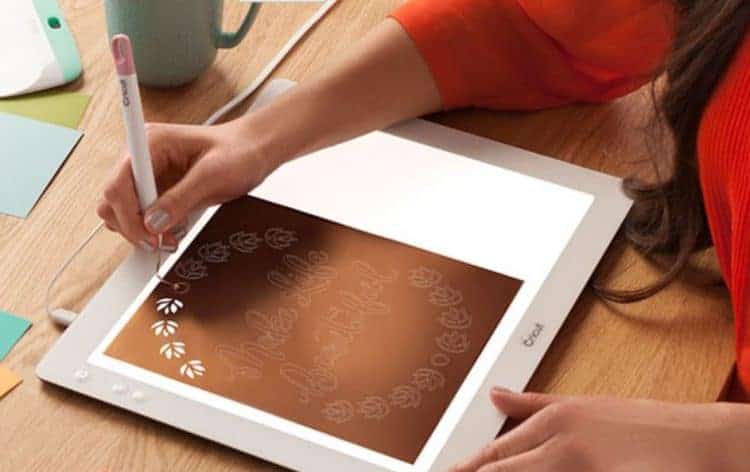
The Cricut BrightPad is a brilliant companion for any crafter that needs to illuminate projects for easier crafting and reduced eye strain.
You can use it for things such as tracing, weeding, quilting, and more.
It is easy to carry around and easy to store.
Does this sound like the perfect gift?
Click here to check current pricing for the Cricut BrightPad
10. A Year Subscription to Cricut Access
What is so magical about the Cricut Design Space?
- It has over 50,000 images for you to choose from
- It has more than 800 predesigned Make it Now projects. These projects are ready to go and all you have to do is to click that magical button called “Go”.
- You can upload your own jpeg and SVG files.
- You can add your own fonts.
- It works from a desktop, laptop, tablet, and phone – hello to lazy designing form your couch!
Now every person that owns a Cricut machine will most likely have to subscribe to Cricut Access. It only makes logical sense to do so. But it is one of those things that you hate spending your own money on – so I know that if it was me – this would be a perfect gift!
You can read more about the benefits of subscribing to the new Cricut Design Space & Cricut Access here.
Does this sound like the perfect gift?
Click here to purchase a year subscription to Cricut Access
And there you have it! 10 Fabulous Cricut gift ideas that any Cricut fanatic would love to receive.
Please leave us a comment and let us know which gift you decided to purchase.
10 of the Absolute Best Cricut Gift Ideas of 2019! was first published on: The Best Vinyl Cutters
via WordPress https://cuttercraftsbysamantha.wordpress.com/2018/11/25/10-of-the-absolute-best-cricut-gift-ideas-of-2019/
Looking for one of the best Thanksgiving turkey crafts for kids?
These birds are so funky! I love their bright feathers, I love those googly eyes and I think they make sweet Thanksgiving table decorations.
If you want to make a turkey craft with your kids, these are brilliant for older kids, aged 8+.
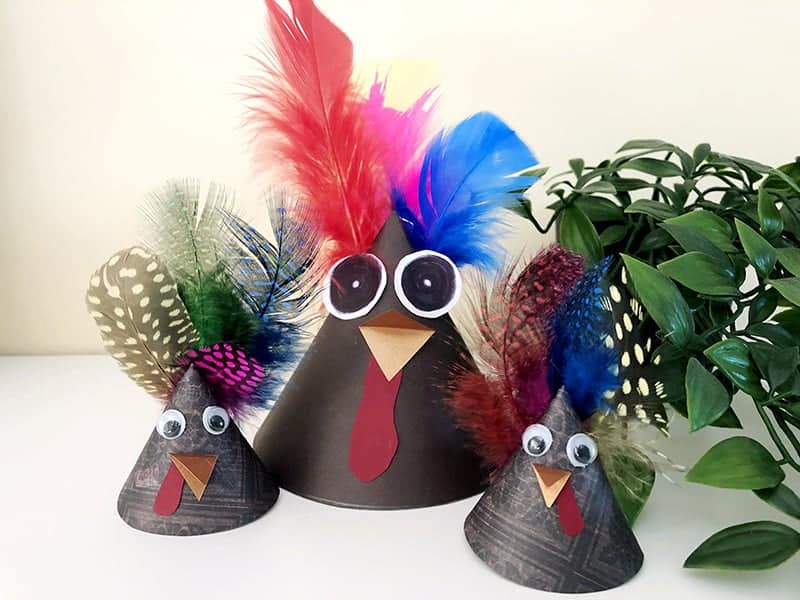
I made them with my 9 year old daughter and she loved making them, but she also got a bit frustrated in some steps. Which is why I have shared some tips in my instructions below on how to make this Thanksgiving turkey craft idea a bit easier.
You can find all the information below.
DIY Thanksgiving Turkey Craft Idea for Kids
Find below all the supplies and the step-by-step instructions that you will need to create your DIY Turkey craft project.
As a disclaimer, credit of this project goes to Crafty Morning. She has a tutorial on her blog on how to whip up these birds as party hats! So hop over to her page if you wish to extend this project.
I have added a few helpful tips in my tutorial to make the craft a bit easier (I got a bit frustrated during some steps), so make sure to browse through our steps below as well.
Materials:
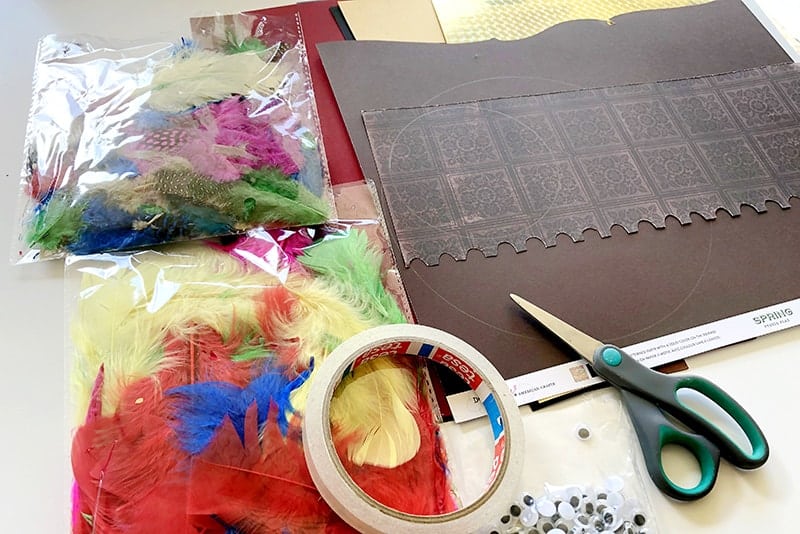
- Brown, Orange & Red Thick Paper
- Sticky Tape
- Bright Colored Feathers
- Googly Eyes
- Glue
- White Paper
- Sharpie Pen
- Scissors
Instructions:
Step 1: Draw a circle onto your brown paper. I just used some lids from some Tupperware in the kitchen. Cut the circle out and then cut it in half. One half-circle will make one turkey, so set the other half aside for now.
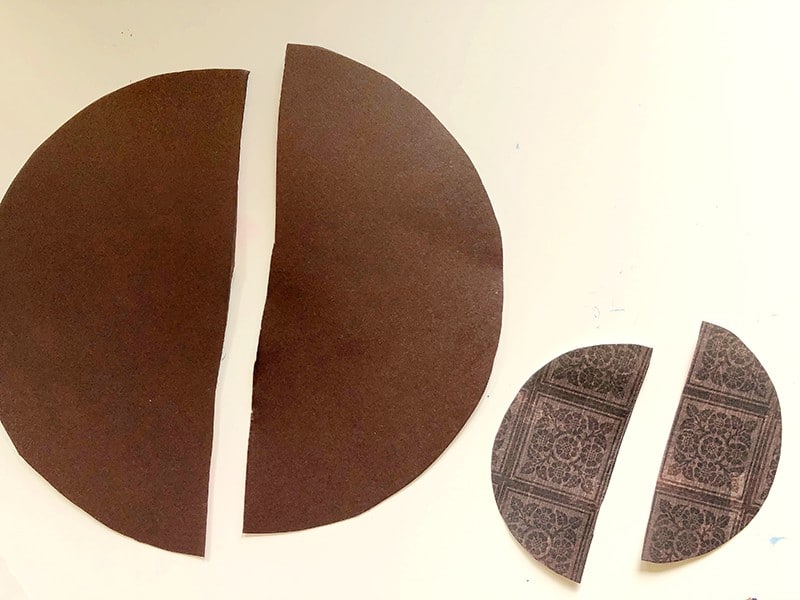
Step 2: Bend the two corners of the half-circle towards each other to form a cone shape. Use some sticky tape to secure your cone.
Tip: I found that I had to reinforce my sticky tape as they kept coming undone, so best to add a bit more sticky tape or some staples (if your cone is large enough) to ensure it is secure.
Step 3: Choose your feathers and organize your arrangement. I found it easiest to sticky tape them together like a bouquet of flowers.
Tip: After struggling with the first turkey and the feathers, I ended up stripping off the feathers towards the bottom. It was easier to sticky tape them together without all the feathery fuzz getting in the way.

Step 4: Next use some more sticky tape to adhere your bouquet of feathers to the back of the turkey.
Step 5: Next stick on some googly eyes or create your own funky eyes by simply drawing some pupils with a sharpie onto some whitepaper. Sticky liquid glue works really well to adhere the eyes (or you could try a glue gun?).
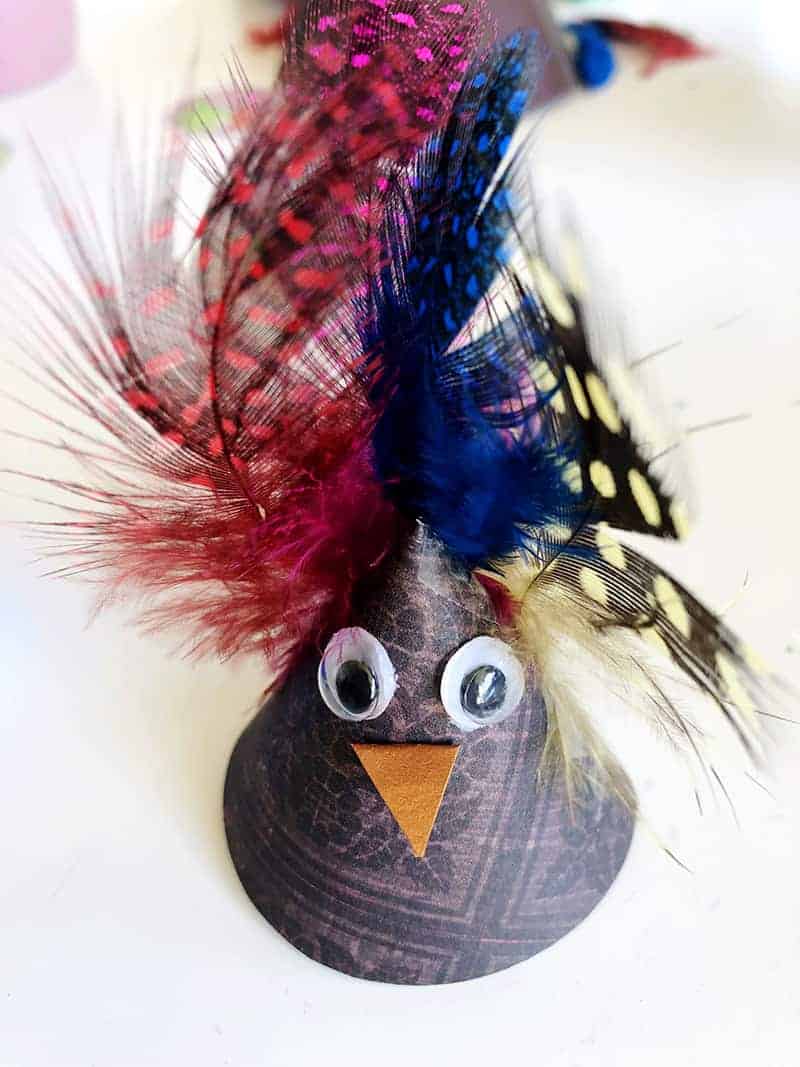
Step 6: Fold some orange paper longways. Next cut out a triangle shape on the fold in order to create a beak. Cut out a wonky snood for the turkey and stick these under the eyes.
And you are done!
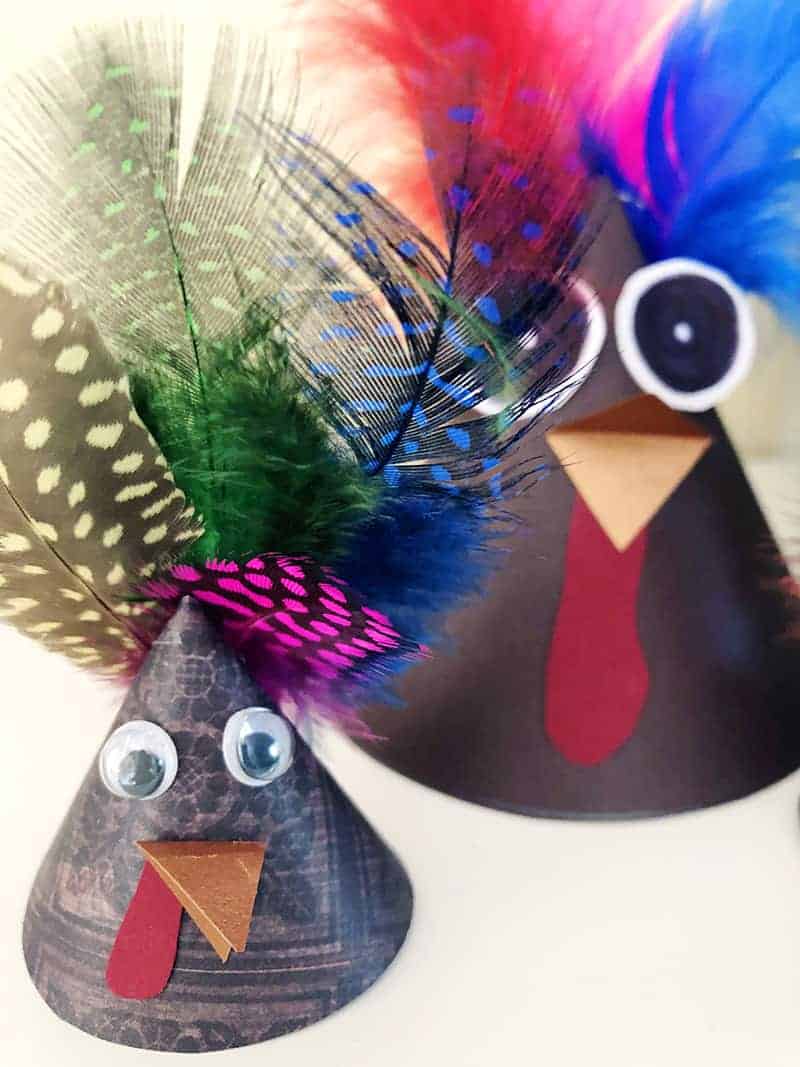
And there you have possibly the cutest turkey craft project in the world – don’t you think!? I hope you guys have loads of fun whipping up these colorful wonky thanksgiving birds.
If you have any questions, please leave them in the comments below.
Till next time,
Samantha xxx
Super Cute DIY Thanksgiving Turkey Craft Idea for Kids is available on: thebestvinylcutters.com
via WordPress https://cuttercraftsbysamantha.wordpress.com/2018/11/22/super-cute-diy-thanksgiving-turkey-craft-idea-for-kids/
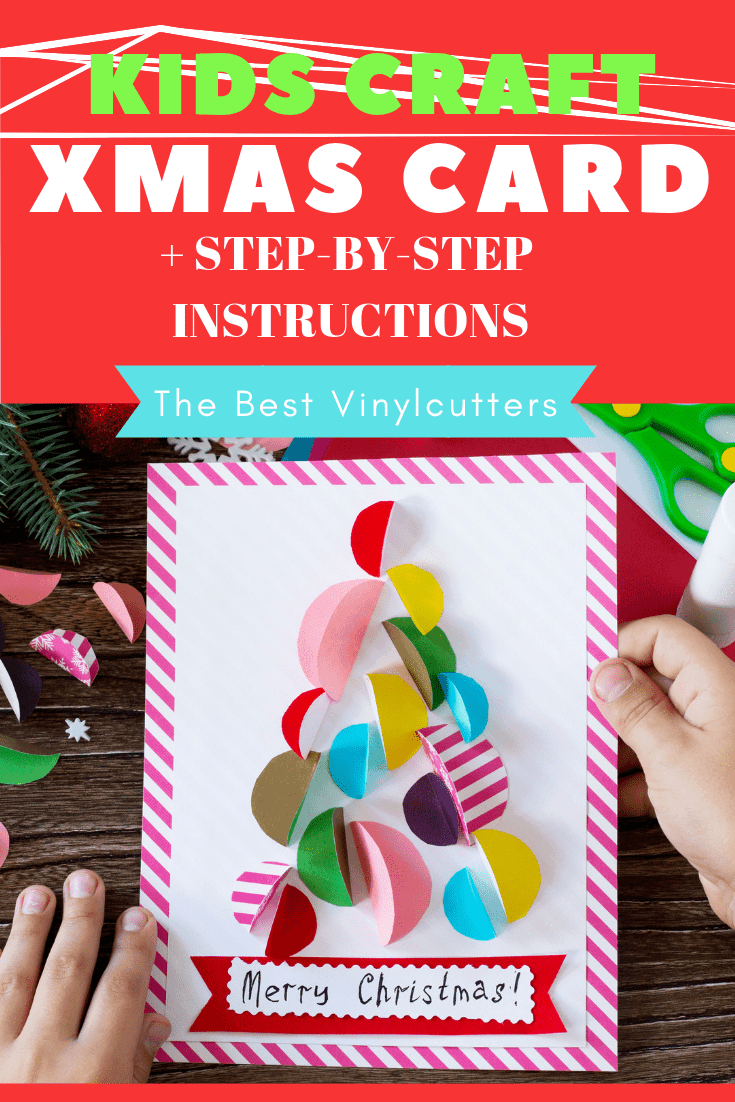
Looking for really fun and easy Christmas card to make with your kid/s?
Our DIY Christmas Card Craft for kids is perfectly geared for children aged 8+. You will be able to enjoy this project with kids of younger age, however, I would expect that you would need to be more hands-on with helping out during each step.
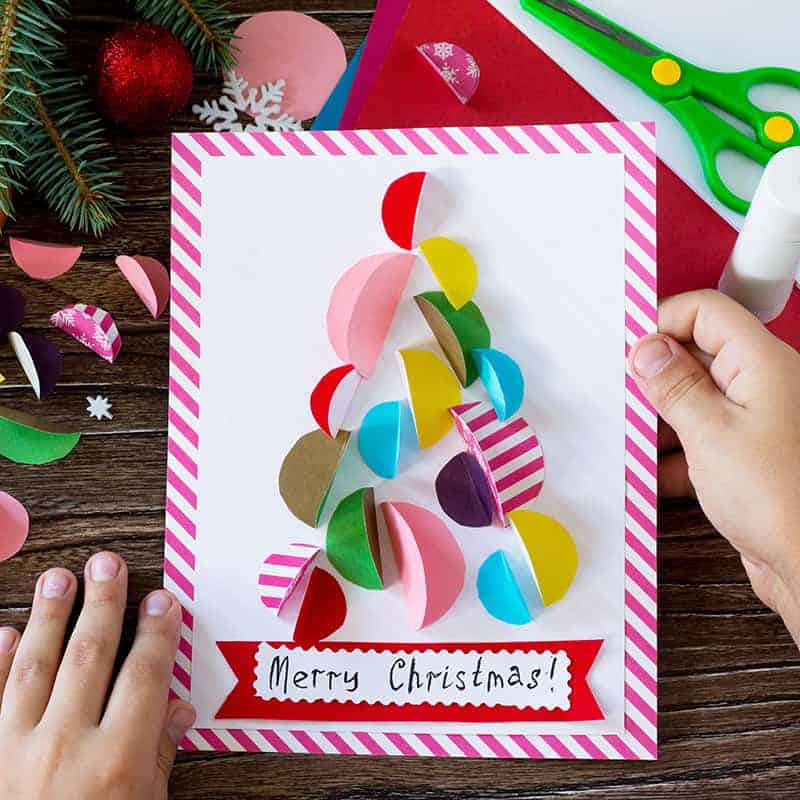
You can find the full step-by-step tutorial on how to create this gorgeous Christmas card below.
DIY Christmas Card Craft Idea for Kids
Find below the supply list as well as the step-by-step tutorial to show you how you can create this easy and beautiful Christmas card.
–
Supply List:
- 1 x Double-Sided Patterned Paper (12 x 12″)
- 1 x White Cardstock or Paper (A4 in size)
- A Range of Colored Paper for the Tree Circles (A4 in size)
- Scissors
- Decorative Edge Scissors
- Paper Trimmer (Not Essential but Helpful)
- Glue
- Black Pen
- A Way to Make Circles (I’ll discuss these below)
Easiest Ways to Create your Circles:
Here are a few ways in which you can easily create some circles for the card.
- Use Circle Punches. Kids love using punches, so you can easily leave your child to punch out some circles to their heart’s content. You can even buy circle punches in sets of 3 to get the different size circles that you are after. Here are some great circle punches on Amazon.
- Use a manual or electronic die cutting machine. Manual die cutting machines are pretty cheap. You can pick up a Cricut Cuttlebug Die Cutter for under $100. Grab a circle die from Amazon here. My kids LOVE LOVE LOVE cranking the handle of a manual die cutter to cut out circles. This is my preferred way of doing it as you can cut multiple layers at once.
- You can create some chipboard circles from lids or round objects from around the home. Your child can trace around these and then cut out the circles this way. Seems painful to me and will take forever – not to mention your child might get bored with it. But it is a cheap way to do it.
Instructions:
Step 1: Grab your patterned piece of paper and trim it down to an A4 size.
- If you have a trimmer, trim it to 12″ x 8.5″.
- If you don’t have a trimmer, give your child an A4 sheet of cardstock. They can use a pencil and trace around this and then cut out the patterned paper along the pencil lines.
Fold this sheet in 1/2 to make a card. Set aside the rest of the patterned paper so you can use it to make circles for the tree.
Step 2: Trim down your white cardstock to around 5″ x 7.5″. Glue this piece down in the center on the front of your card.
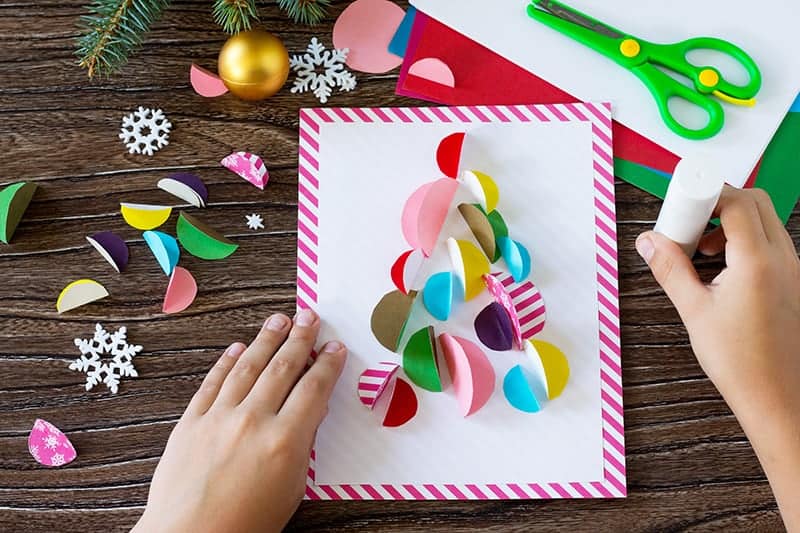
Step 3: Create around 20 circles in different sizes and from a range of colors. We love to mix up solid colors with some double-sided patterned paper.
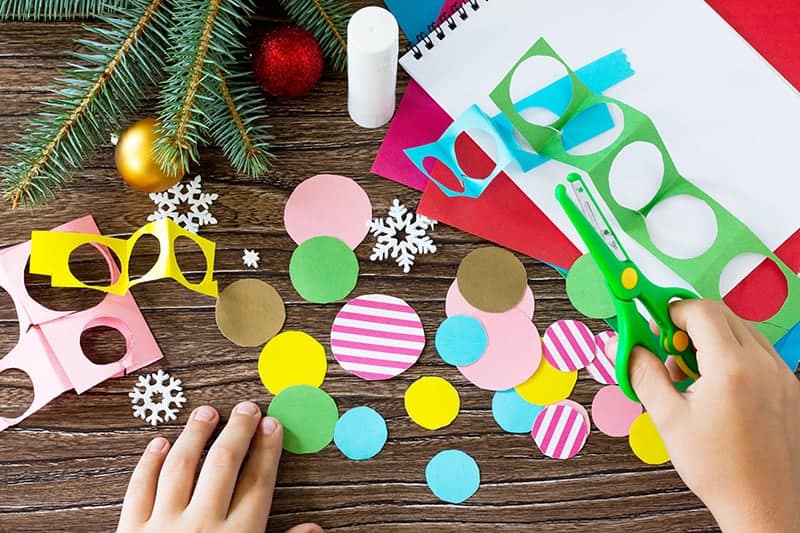
Step 4: Fold each of these circles in half.
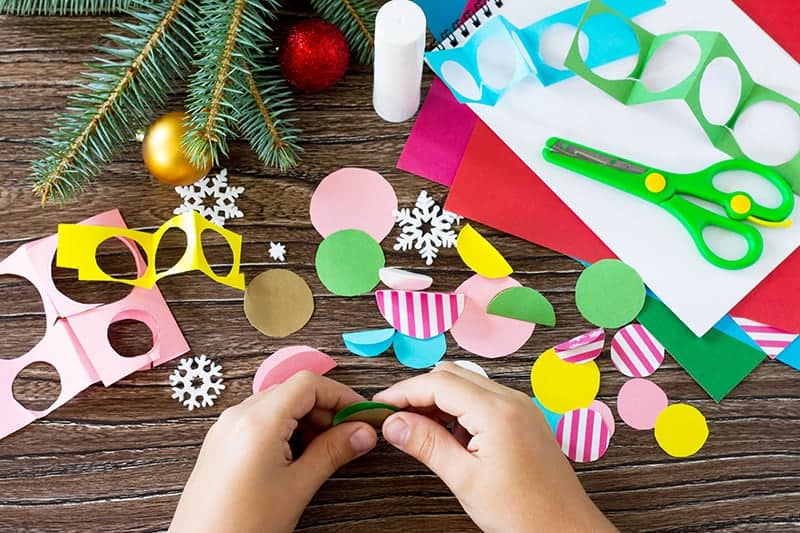
Step 5: Pop glue on one-half of the circles and glue these down in a triangle/tree shape on the patterned paper.
Tip: If your child is younger, you might wish to lightly draw a triangle shape on the cardstock so that your child can work inside the space.
Step 6: Cut down a red piece of cardstock to around 4.5″ x 1″ in size. Cut a triangle shape out of each side of the rectangle to create a banner. (See photo below for visual example)
Step 7: With a pencil draw a rectangle on your white paper that measures 3.5″ x 1″. Use some decorative edge scissors to cut around the edge of this border. Glue this down on top of the red banner you created in the previous step.
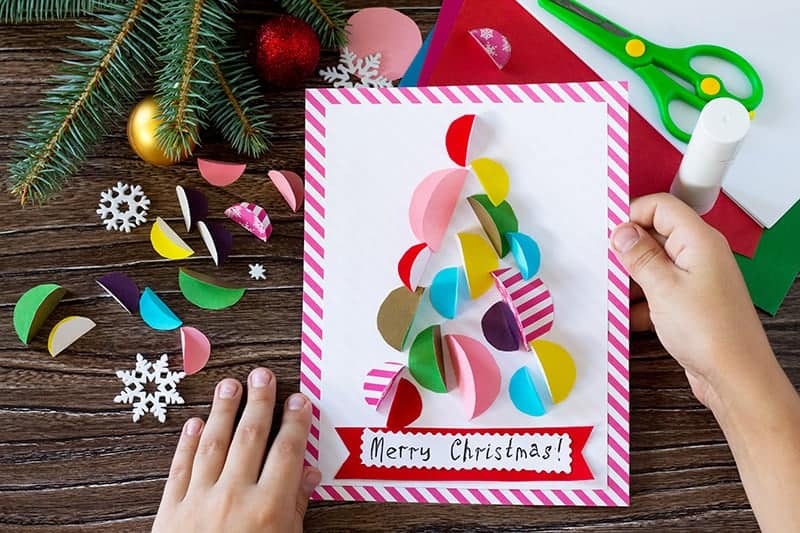
Step 8: Neatly write your Christmas message such as ‘Merry Christmas’ to finish off your card.
Alternative ideas to using circles from the paper:
If you don’t want to use paper circles, you can also create a similar card from:
- Buttons
- Circle Stickers
- Die-Cut Snowflakes
- Circle Stamp and Ink/Paint
How to Make this Craft Easier for Younger Kids:
If your child is younger, you can always pre-cut all the elements for them so that they only have the task of folding and gluing down all the elements.
We hope you had fun spending some quality craft moments with your child. Now the challenge is to go and whip out a few more of these cards so that there are enough for all the family members.
Till next time,
Samantha xxx
Fun and Easy DIY Christmas Card Craft Idea for Kids (or Adults) is courtesy of: The Best Vinyl Cutters Blog
via WordPress https://cuttercraftsbysamantha.wordpress.com/2018/11/22/fun-and-easy-diy-christmas-card-craft-idea-for-kids-or-adults/
Your one-stop for free Mermaid SVG files for Cricut, Silhouette or any other electronic cutting machines.
These free SVG mermaid files are fabulous for crafts, DIY projects, t-shirts, mugs, invitations, cards, canvas bags, hats, shoes and so much more!
We have found some beautiful mermaid SVG free files on quotes, fonts, monograms, scales, silhouettes, as well as some pretty mermaid sets.
If you love working with SVG files, you will also love our massive list of websites that offer SVG free download files.
What do I need for an SVG file?
Once you have downloaded your SVG file, what happens next?
Ideally, you will upload the SVG file into the software that came with your cutting machine. We love working with Cricut Cutting Machines and our favorite software is Cricut Design Space, but you can find all the best cutters that can cut vinyl here.
A lovely tutorial from Cricut for those who are working with design space that is easy to follow: How to upload images into Cricut Design Space
Whilst you can use these designs for so many different purposes, we typically love cutting them onto HTV (heat transfer vinyl) and then adhering them to t-shirts, hats, shoes, canvas bags and more.
In order to do this, you will also need a heat press machine. You can find a list of heat press machines for vinyl applications here.
But enough about the technicalities lets just into our beautiful list of websites that offer free mermaid SVG cut files for download.
FREE Mermaid SVG Quotes & Sayings
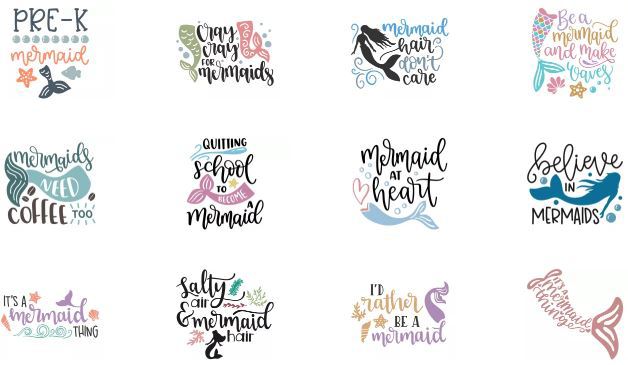
Love SVG has 33 beautiful FREE Mermaid Quote SVG files available for download.
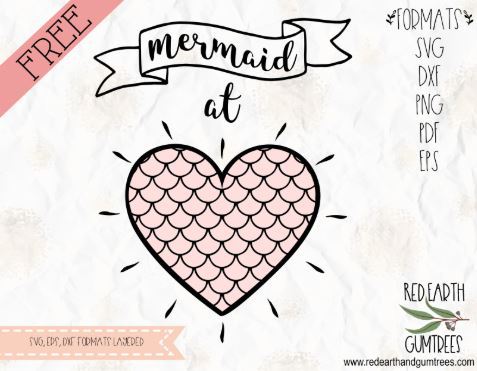
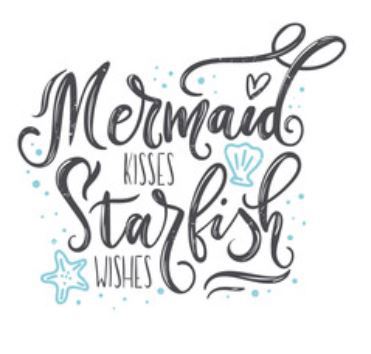
I’m really loving this gorgeous Mermaid Fish Scale Quote from Red Earth Gumtrees.
Another fabulous free Mermaid SVG file that is perfect for T-shirts or bags! You can grab this one from Make It Create.
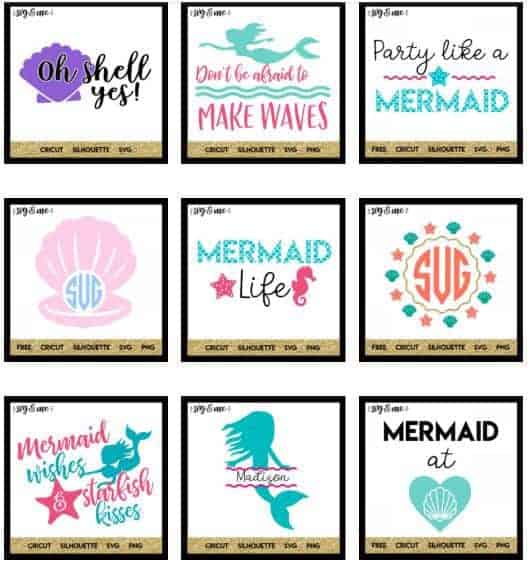
14 Fabulous free mermaid SVG files to browse over at SVG and Me.
FREE Mermaid SVG Sets
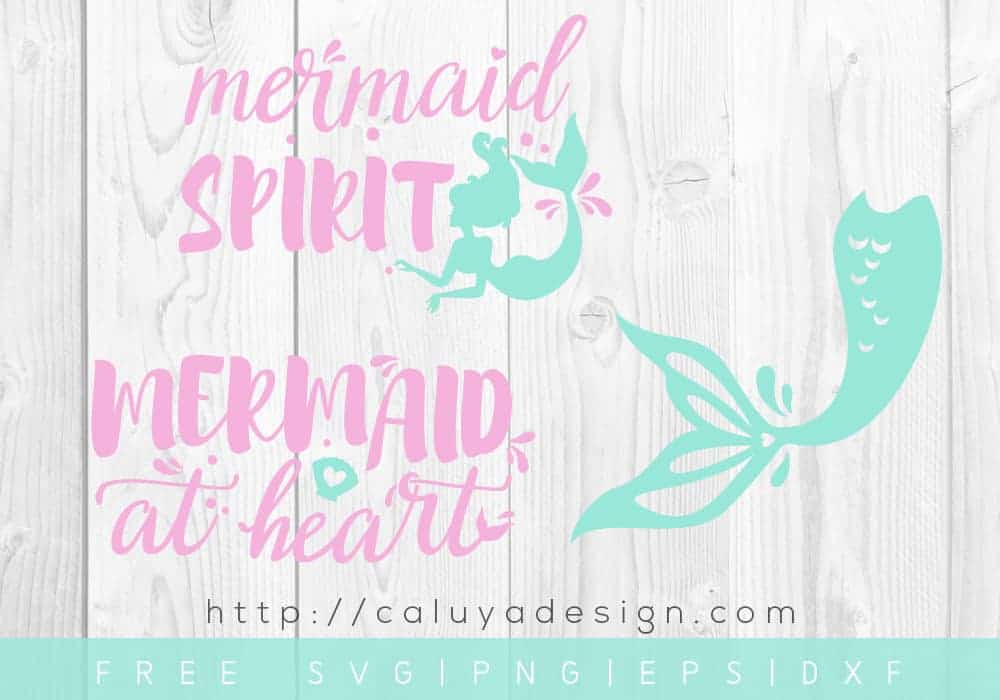
Grab this free mermaid SVG file from Caluya Design
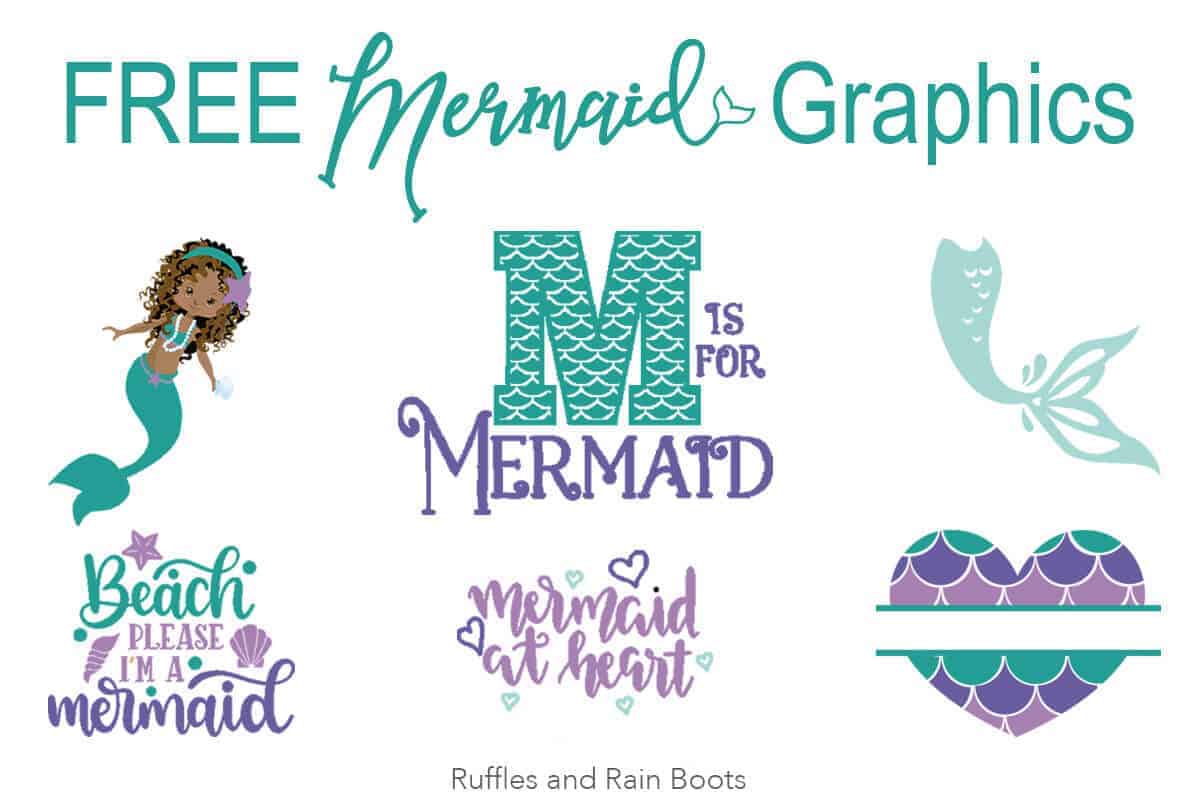
Grab this gorgeous Mermaid SVG file set from Ruffles and Rain Boots
FREE Mermaid Tail SVG Files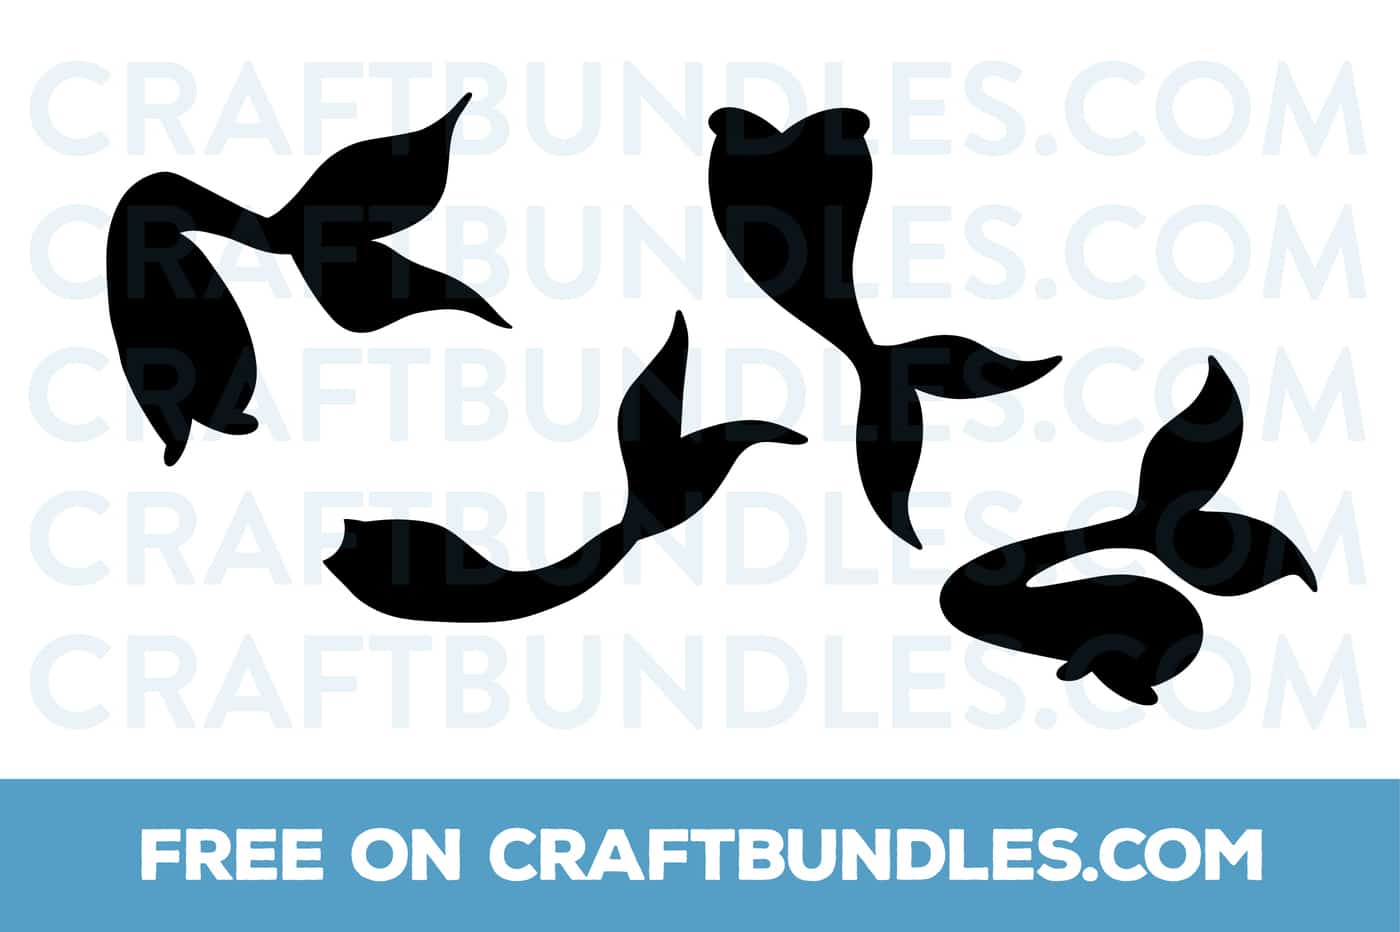
A gorgeous set of mermaid tail SVG free files. You can grab this set from Craft Bundles.

You can grab this fun free mermaid tail SVG file from The Hungry JPEG.
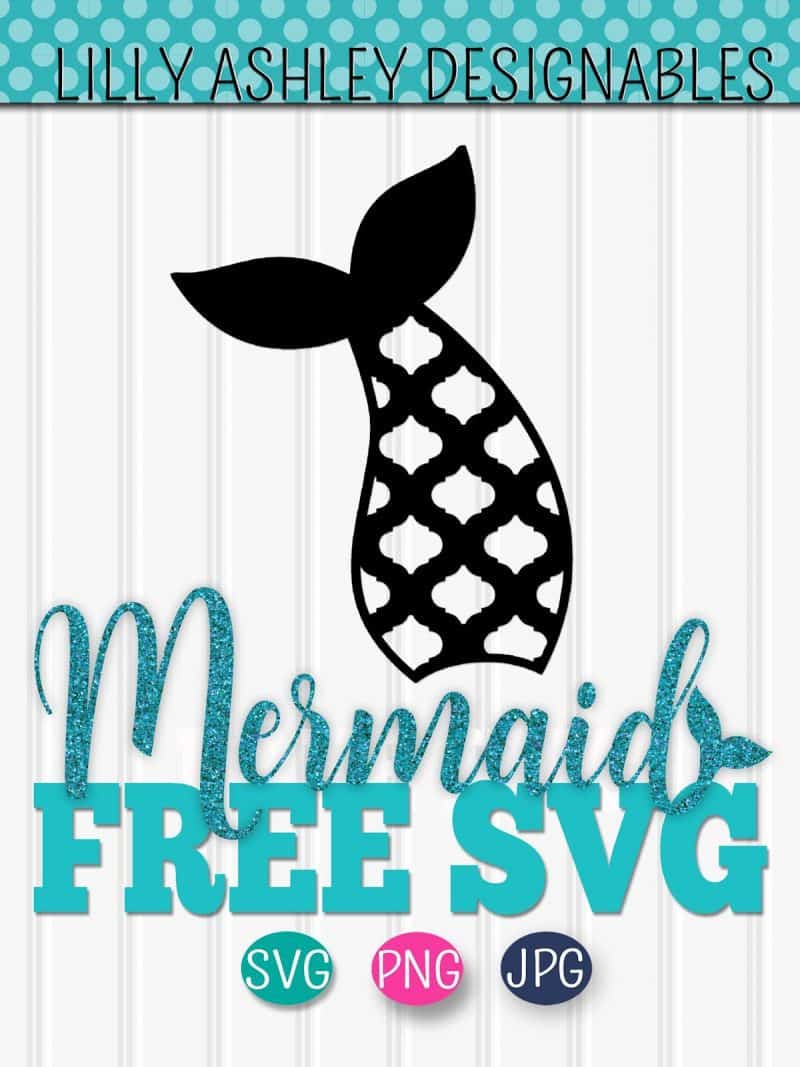
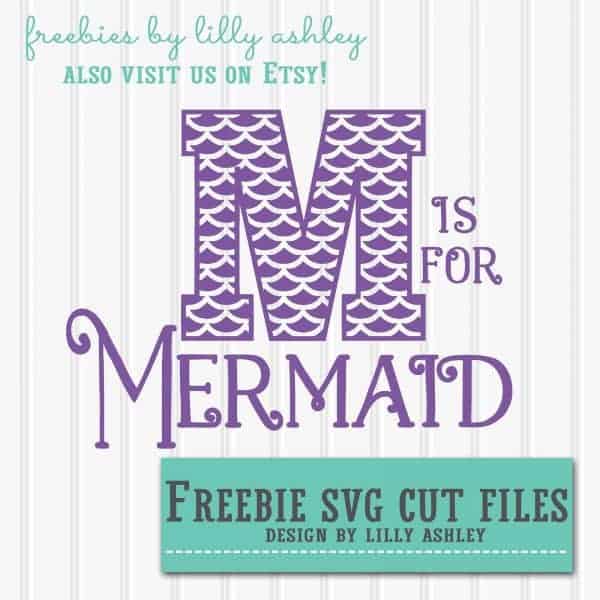
Another free Mermaid PNG File (Also available in SVG and JPG). You can grab this one from Make It Create – Designs by Lilly Ashley.

You can grab these beautiful fun color mermaid tail PNG file from Free Pretty Things for You.

Another pair of gorgeous galaxy mermaid tails from Free Pretty Things for You.
FREE Mermaid Silhouette SVG Files
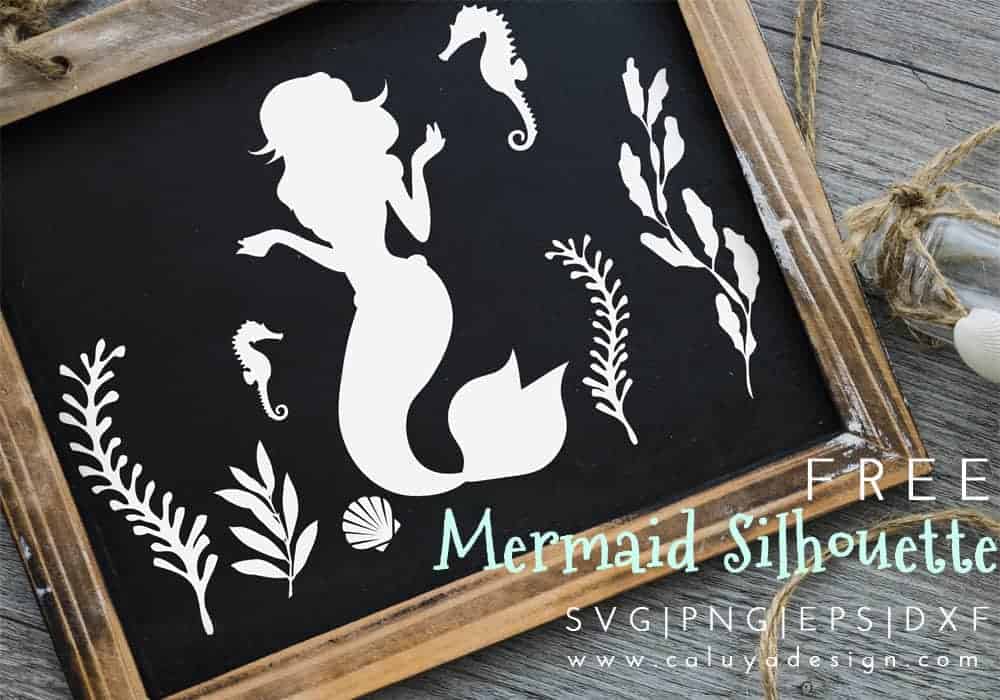
After a beautiful mermaid silhouette SVG cut file? We are in love with this one by Caluya Design.
FREE Mermaid Scale SVG File

There are so many uses for this gorgeous mermaid scale SVG file. You can grab it for free from Dreaming Tree.
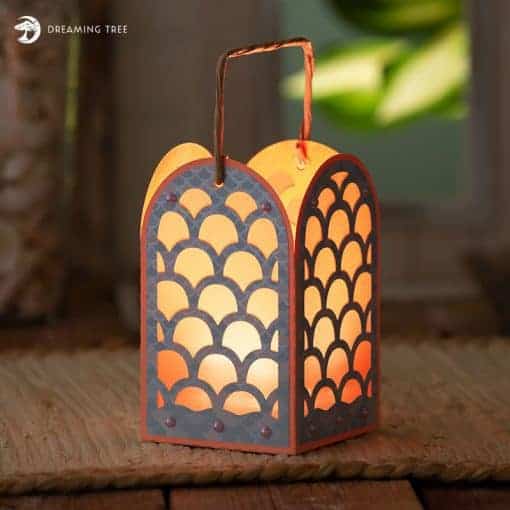
Another gorgeous FREE mermaid fish scale SVG file from Dreaming Tree.
FREE Mermaid Graphics
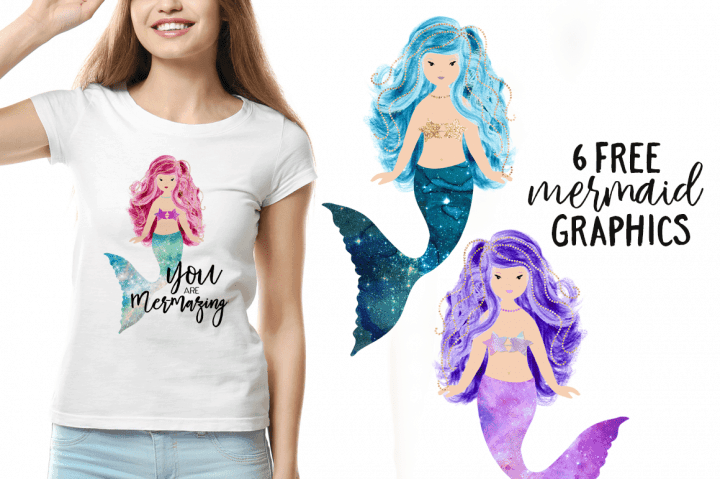
Absolutely loving this free mermaid graphics! You can grab it from The Hungry JPEG.
FREE Mermaid Fonts
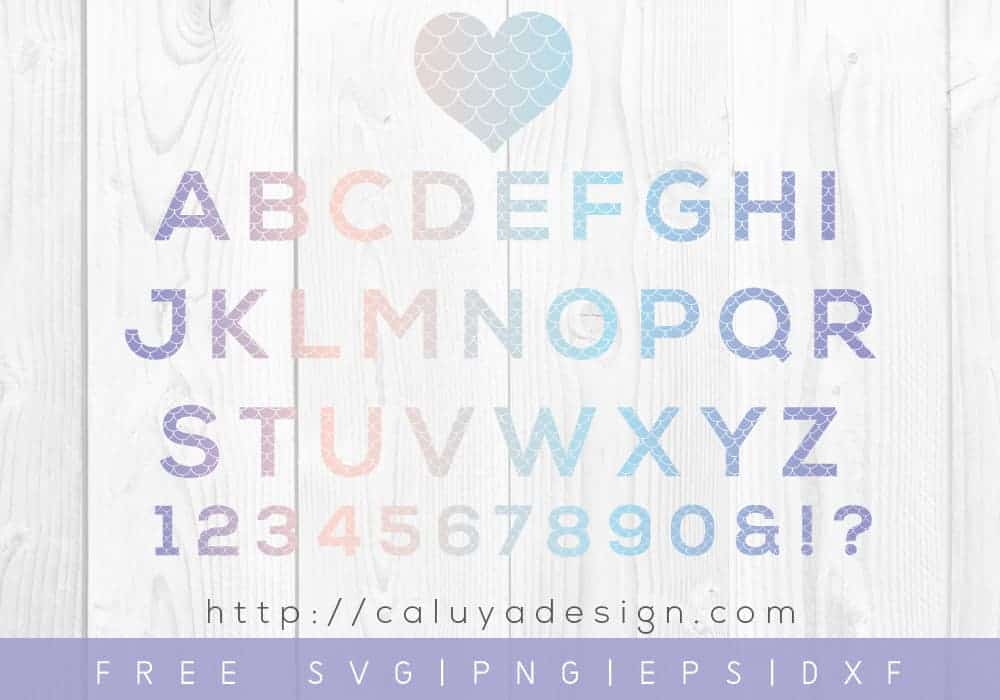
Absolutely beautiful mermaid monogram SVG files from Caluya Design.
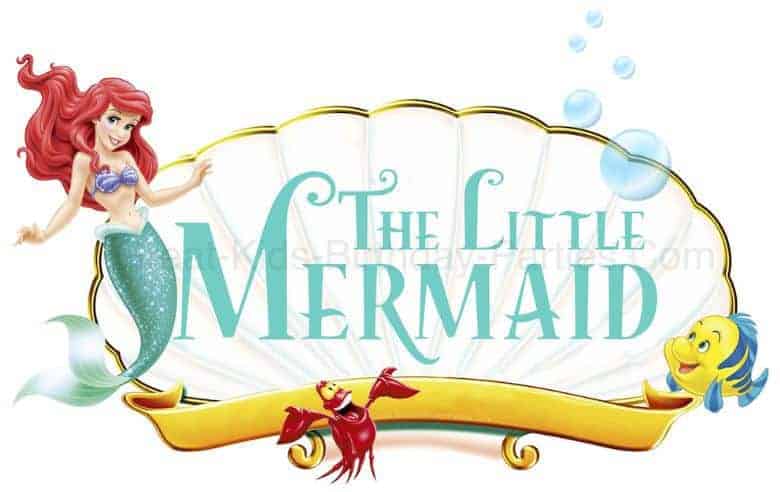
Looking for a font closer to the Little Mermaid font? Kids Party Works walks you through how to get hold of these free mermaid font files. You can also grab a free Mermaid birthday party invite on their page whilst you are there as well.
Make sure to check back often if you love Mermaid cut files as we are always on the lookout for more freebies to add to our list!
And of course, if you know of any freebies, please tell us about them in the comments below so that we can add them to our ever-growing list.
Till next time,
Samantha xxx
Collection of the Best Free Mermaid SVG Files on the Web is republished from: https://thebestvinylcutters.com
via WordPress https://cuttercraftsbysamantha.wordpress.com/2018/11/22/collection-of-the-best-free-mermaid-svg-files-on-the-web/
Looking for some cool DIY Happy Potter crafts?
We have a massive list of some of the best Harry Potter craft ideas from around the web.
There is something for everyone on this list, from wands, to edible crafts, to robes, owls, mugs, t-shirts and so much more!
There is also some fabulous Harry Potter crafts for kids to make, as well as some awesome projects that make excellent Harry Potter decorations for birthday parties.
Enjoy!
Silhouette & Cricut Harry Potter Projects
Find below all Harry Potter craft ideas that require either a cutting machine or a heat press (or both). Here is our fabulous guide to help you find the best home vinyl cutter.
1. DIY Harry Potter Box People Using a Cricut
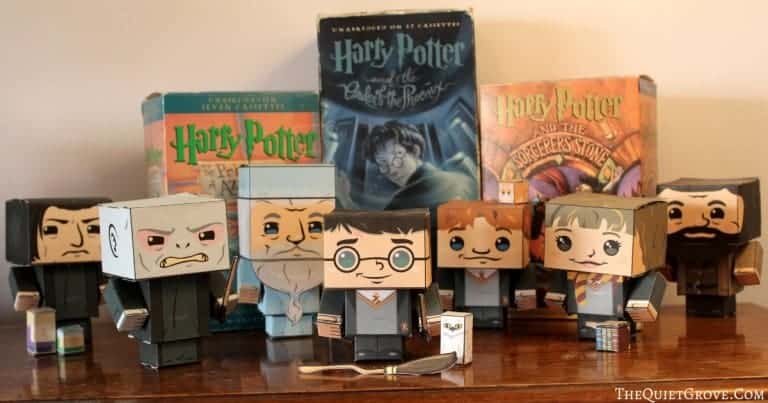
After some Harry Potter Cricut crafts?
We are in love with this adorable set of Harry Potter box people. Julia from The Quiet Grove has a detailed tutorial on her blog that you can follow. She also has FREE Harry Potter SVG files available for download to help you with this craft as well. Click here to see the step-by-step instructions.
Check it Out: Wondering which Cricut machine is best?
2. Easy Harry Potter Craft Owls Using the EasyPress 2
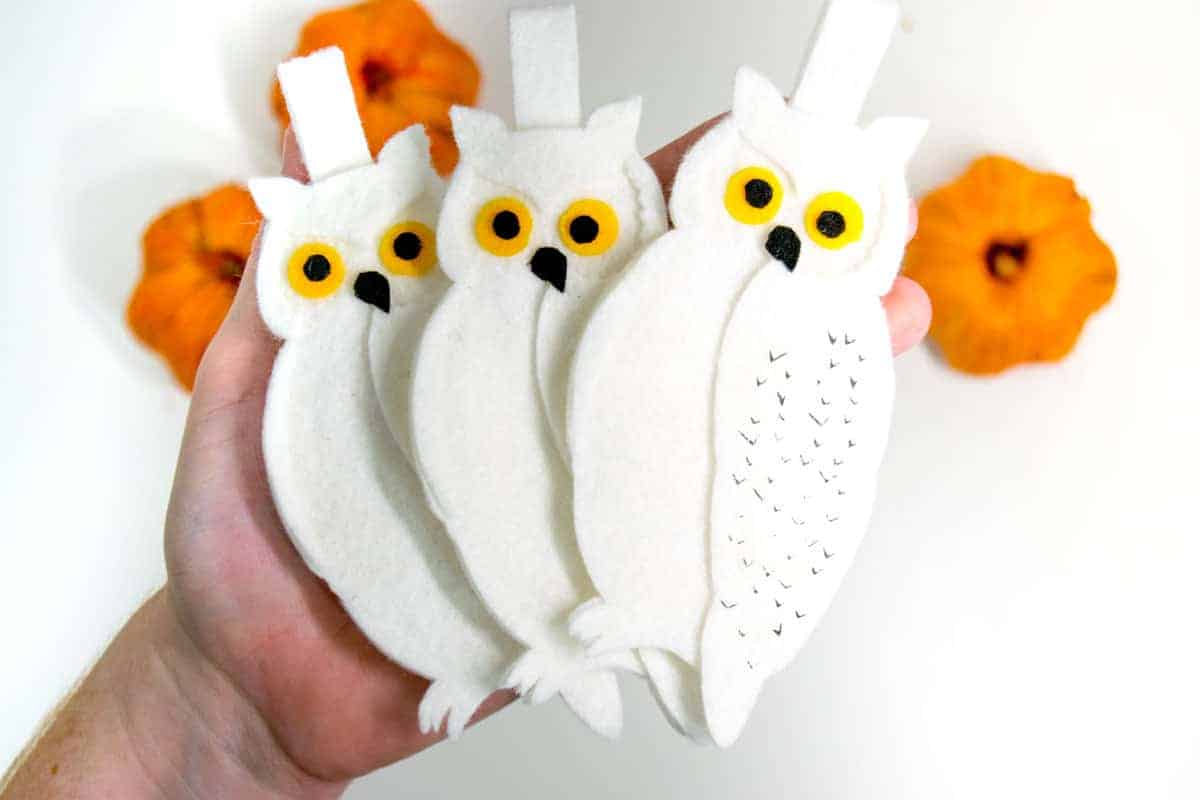
These Hedwig Owls are gorgeous! Lindsay designed them to hang from a Christmas Tree, but I can also see them being used as a bookmark or as string them up and use them as decoration at a Harry Potter themed party.
Lindsay uses her Cricut Maker, some Cricut Iron-On Felt, and her Cricut EasyPress to create these beauties. You can find the full tutorial on her blog: See Lindsay.
Did you Know: The Cricut Maker is the best cutting machine to use for both felt and fabric crafts? Read our review of the Cricut Maker here.
3. DIY Cricut Harry Potter Potion Labels by GYCT Designs
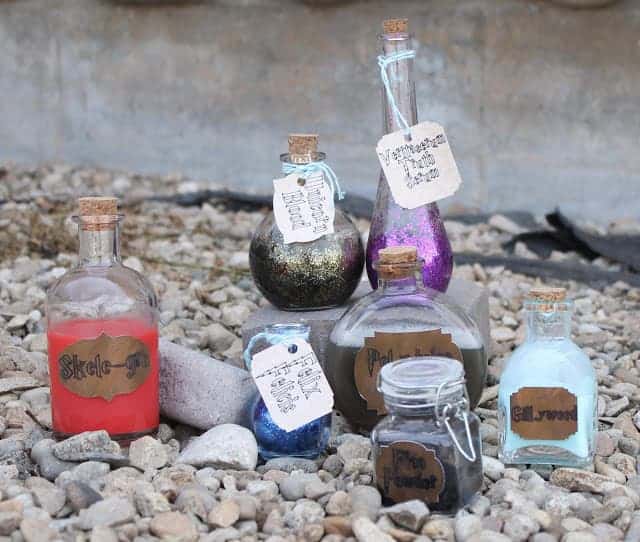
After some nice and easy Harry Potter Crafts? It doesn’t get much easier than this! Chelsea from GYCT Designs has a great tutorial to show you how you can create these gorgeous potion bottles. You will need a Cricut machine to cut out the potion labels. Hop over to GYCT Designs to see the full tutorial.
4. Harry Potter Shirt Design by Swoodson Says
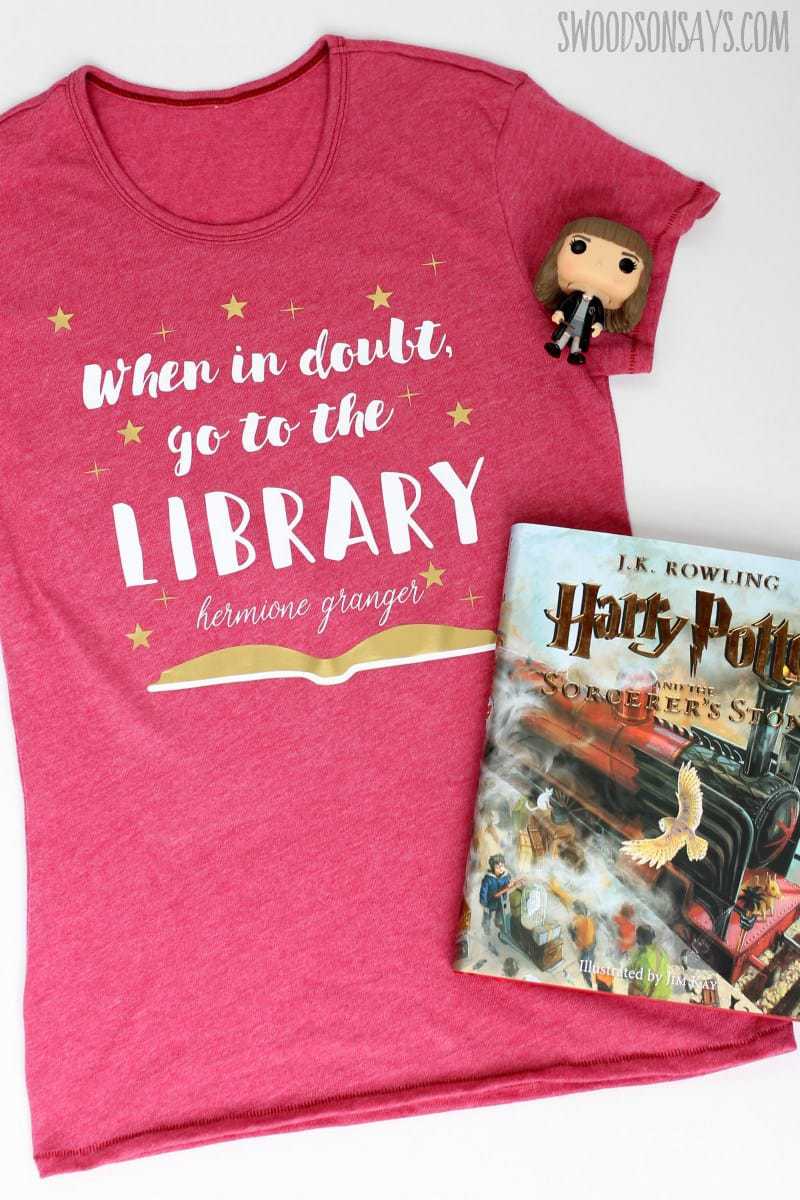
Looking for some Harry Potter T shirt transfers? Stephanie from Swoodson Says kindly shares her FREE Hermione Granger quote file (you will need to sign up for her newsletter to get it) so that you can whip up a T shirt similar to hers. Hop over to her site to grab the downloadable file.
Tip: You have a lot more control over your HTV application when you are using a good quality heat press. Here is a great post that will help you find the best T shirt press.
5. DIY Mandrake Pot using a Silhouette by More Than Thursdays

After some truly cool Harry Potter crafts for kids? I think this is really brilliant! PLUS it gives your child the opportunity to look after a plant as well right? Hop over to More Than Thursdays and grab the full tutorial on how to whip up your very own Mandrake pot with some vinyl.
6. DIY Harry Potter Mugs by Simply Made Fun
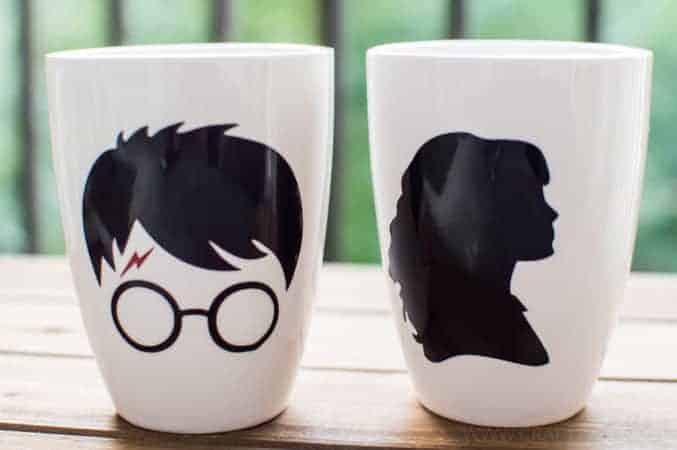
Teresa from Simply Made Fun has a fabulous tutorial on how to create these awesome ‘his & hers’ Harry Potter mugs. You will need a cutting machine, some Oracle 651 vinyl, and some transfer paper. She also shares the link to the Hermione silhouette as well. Click here to see her tutorial.
DIY Harry Potter Wand Craft Projects
Wondering how to make a Harry Potter wand? We have you covered with some beautiful Harry Potter wand DIY tutorials.
1. DIY Harry Potter Wizard Wands by My Poppet Makes
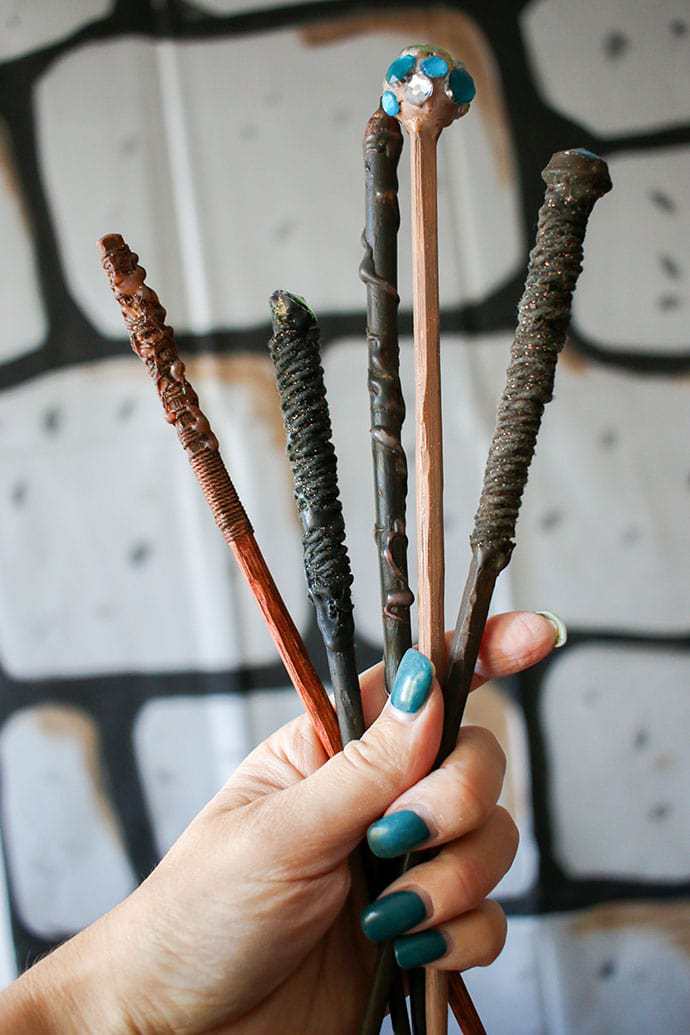
Cintia from My Poppet Makes shows us how to create these cool Harry Potter Wands. She created them for her daughter’s themed Harry Potter Party. She made her wands out of chopsticks – how brilliant is that! You can find the full tutorial on how to make these magic wands on her blog.
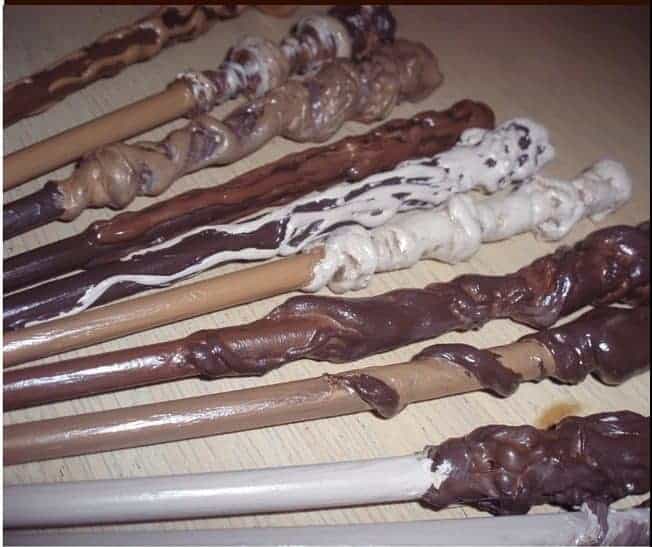
2. Easy Custom Harry Potter Wands by The Inspiration Edit
These gorgeous custom Harry Potter wands are in actual fact made from paper. I bet you might even have most of the supplies on this list at home already! Hop over to The Inspiration Edit to check out the full tutorial.
3. DIY Luna Lovegood – from Harry Potter – Toy Wand by Tikkido
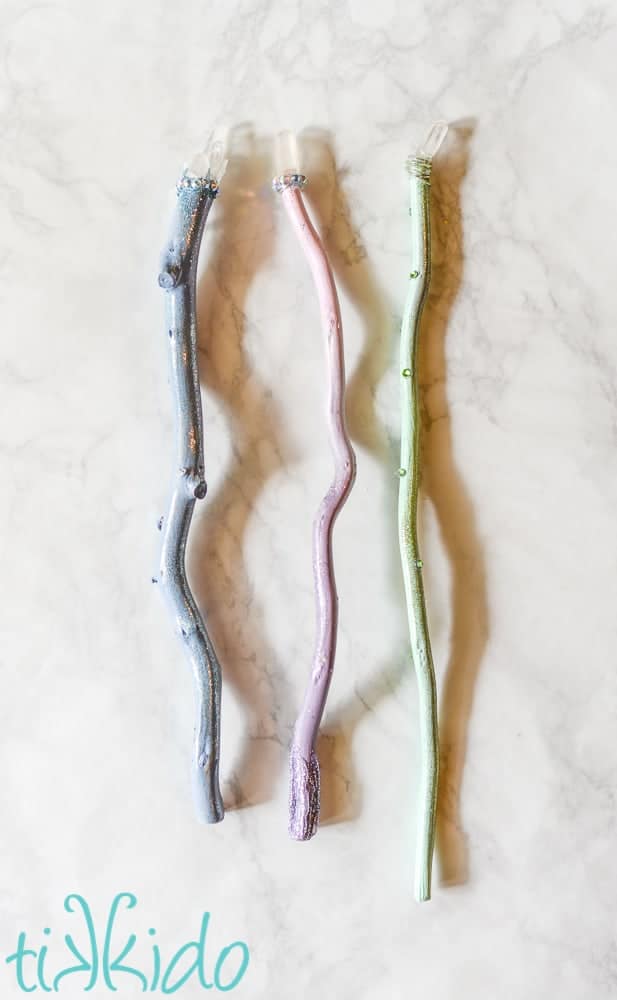
Looking for a softer, more girlie wand to whip up? These gorgeous soft pastel-colored Luna Lovegood wands are perfect for any girl. Nicole used some twirly willow sticks for her wands. You can find her full tutorial on her blog: Tikkido.
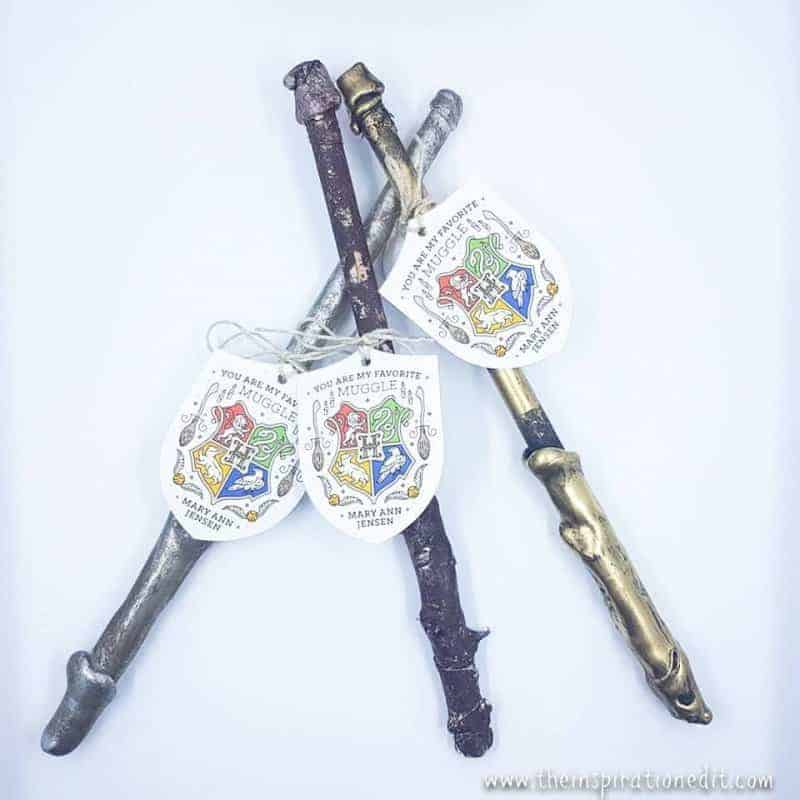
4. Wood Chopstick Harry Potter Wands by The Quiet Grove
Julia from The Quiet Grove shows us how to quickly and easily whip up these fun Harry Potter wands. You will need some wooden chopsticks for some hot glue for these wands. Click here to see her full tutorial.
Homemade Harry Potter Golden Snitch Ideas
Want to whip up some homemade Harry Potter Golden Snitch Ornaments? What about some Golden Snitch editable crafts? Sound good? Here are some of our favorites!
1. Harry Potter Golden Snitch Ornament by Savings Lifestyle
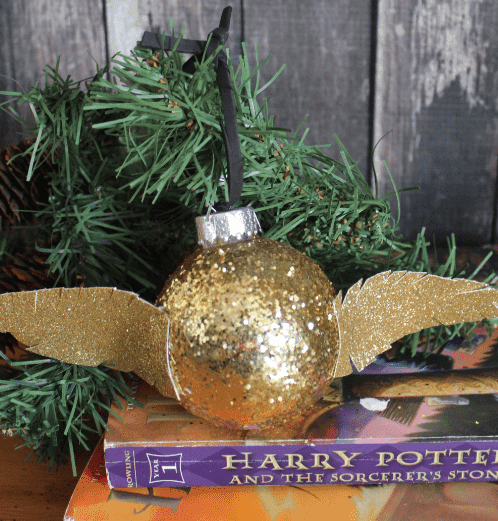
This beautiful Golden Snitch works beautifully as a Christmas Ornament. So easy to make, that even your kids can join in on the craft. Andrea from Savings Lifestyle shares the full tutorial on her blog. Why not whip up a few for your Christmas tree?
2. Harry Potter Golden Snitch Cupcakes by Dessert Now Dinner Later
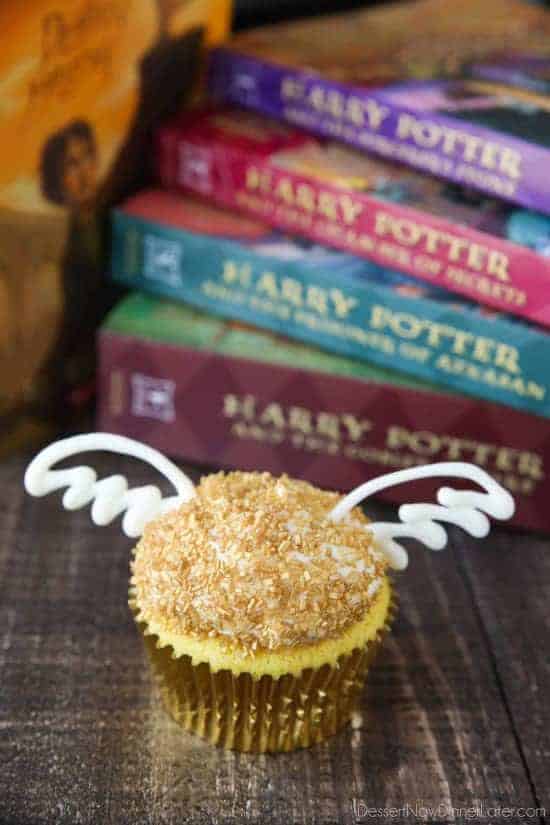
After an edible craft? Or maybe you are planning a Harry Potter Birthday Party. Amber from Dessert Now Dinner Later shows us how to create these beautiful Golden Snitch inspired cupcakes. Hop over to her blog and grab the step-by-step instructions.
3. Harry Potter Golden Snitch Edible Craft by Adventures of Mel
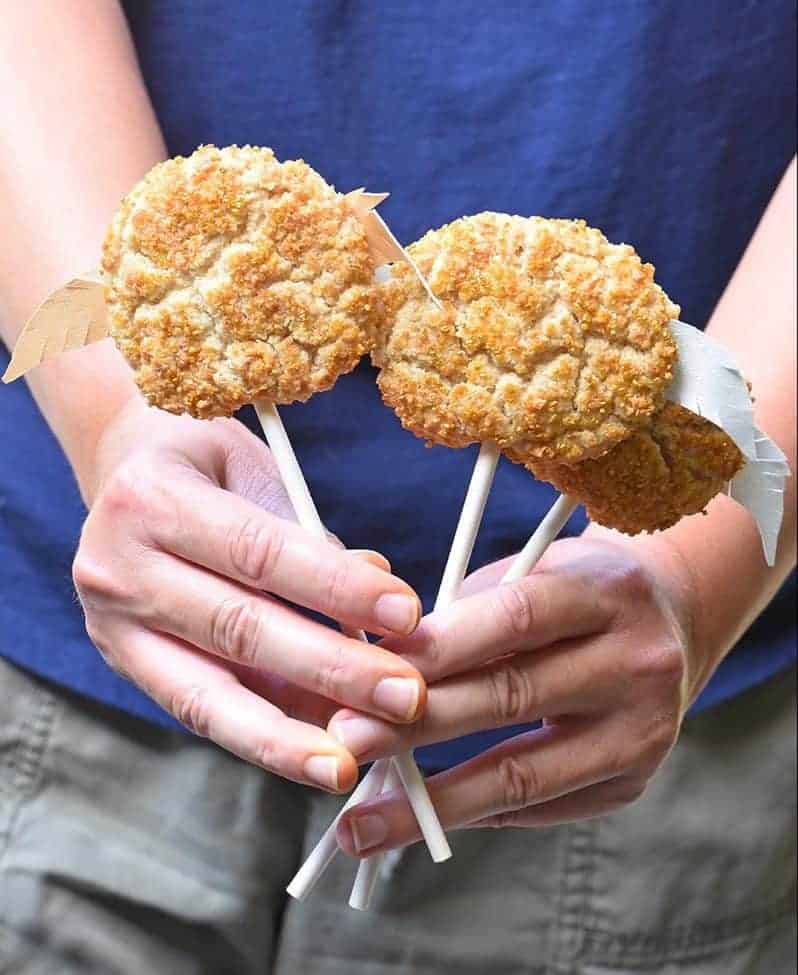
Don’t these Golden Snitch Snickerdoodle Cookie Pops look absolutely delicious!? We are loving these edible Harry Potter craft ideas. Mel from Adventures with Mel shares the recipe as well as a video tutorial on her blog.
Other Harry Potter DIY Crafts to Make
Looking for even more DIY Harry Potter crafts to make? Here are some more fabulous projects.
1. Free Harry Potter Brush Lettering Worksheet by Awesome Alice
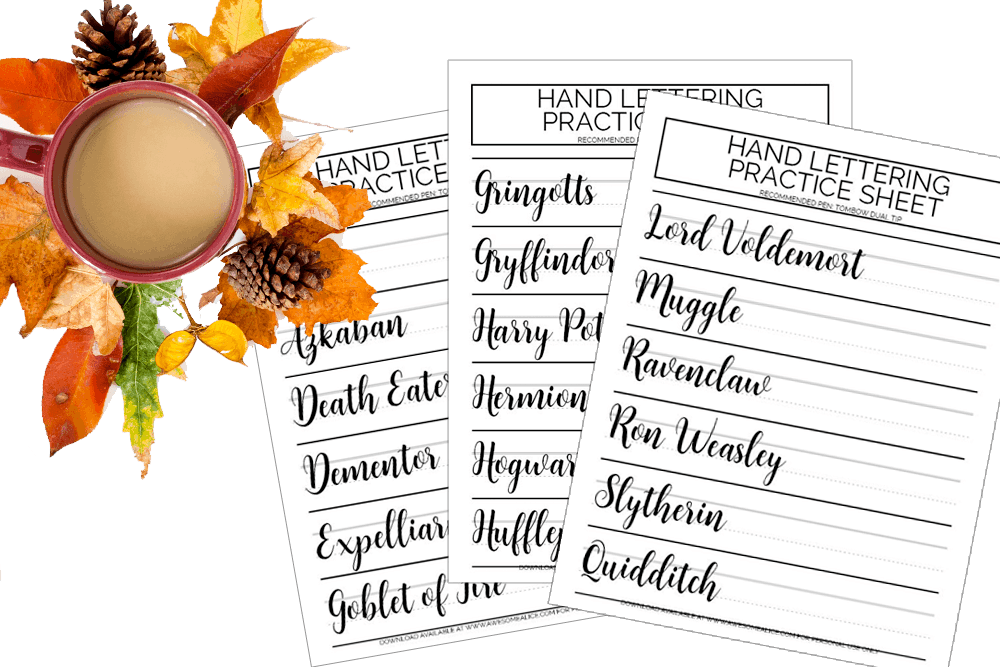
Viktoria from Awesome Alice has this fabulous free printable brush lettering practice sheet available for download. She also has some fabulous tutorial posts on how to get started with brush lettering. Hop over to her website and download your printable PDF.
2. Editable Harry Potter Themed Crafts: Chocolate Frogs by Kim and Carrie
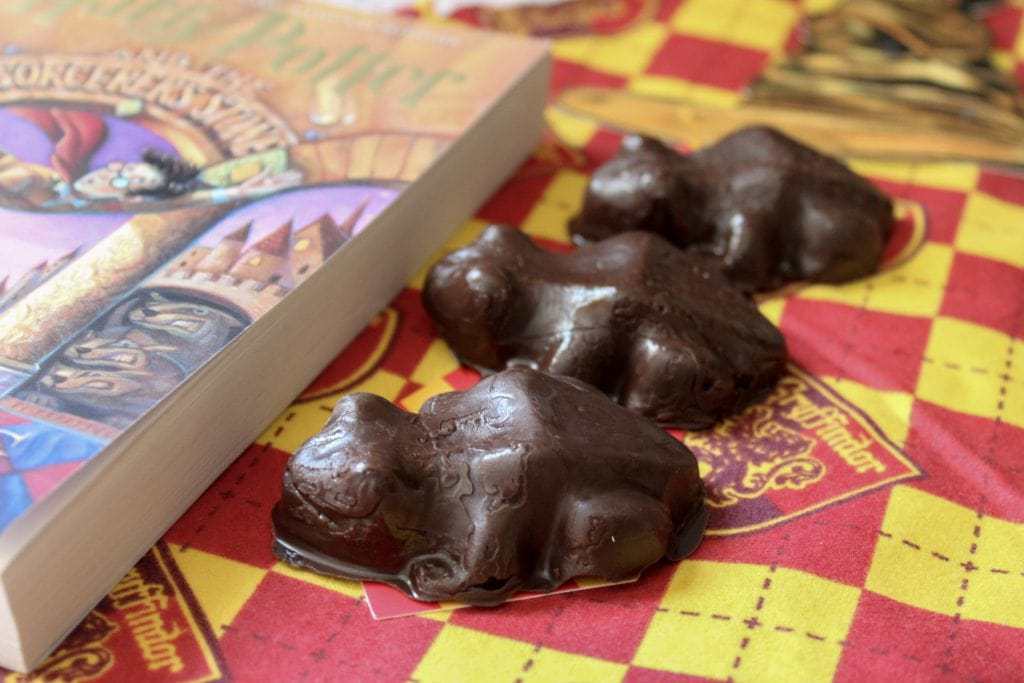
After some yummy Harry Potter craft ideas? Check out this fabulous DIY Harry Potter chocolate frogs candy recipe from Kim and Carrie. Another great project that you can easily get your kids involved in as well.
3. Crochet Harry Potter Art Projects by Too Much Love
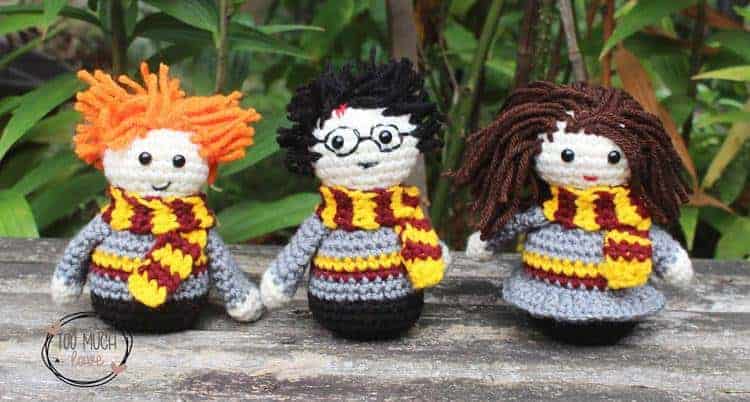
If you can crochet, this is a fabulous project. Aren’t these guys adorable! Nancy from Too Much Loves shares a full and detailed tutorial on how to make the Wizarding Trio – Harry Potter, Ronald Weasley, and Hermione Granger.
4. Sorting Hat Harry Potter Art Project by Ruffles and Rain Boots
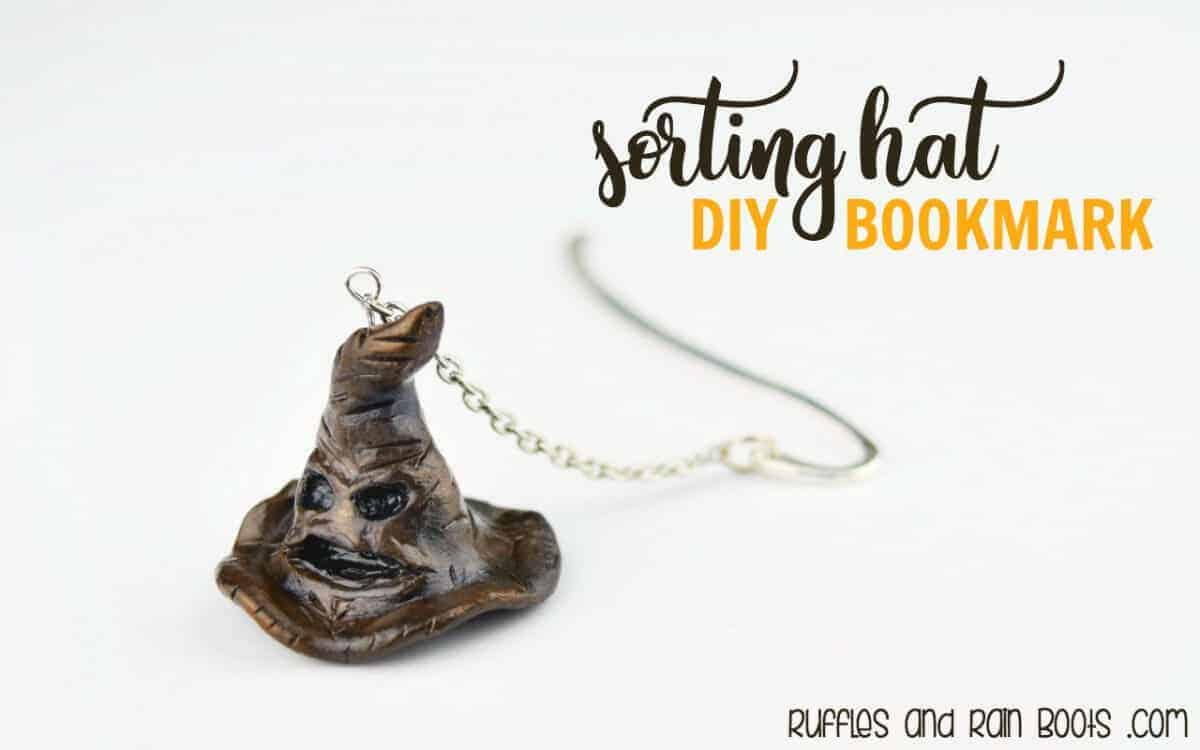
How cute is this bookmark!? I know my girls would love one of these. Sarah from Ruffles and Rain Boots has a brilliant tutorial walking you through the steps of how to whip up these bookmarks with some polymer clay. Have fun!
5. DIY Hogwarts Robe by My Poppet

This project is truly a step above the rest. Be warned that there are loads of steps in order to create the tie, the logo and of course the robe itself. But in my opinion, it is worth all the effort. Cintia from My Poppet shares the full step-by-step tutorial on her site here.
6. Harry Potter Owl Lollipops Tutorial by Tikkido
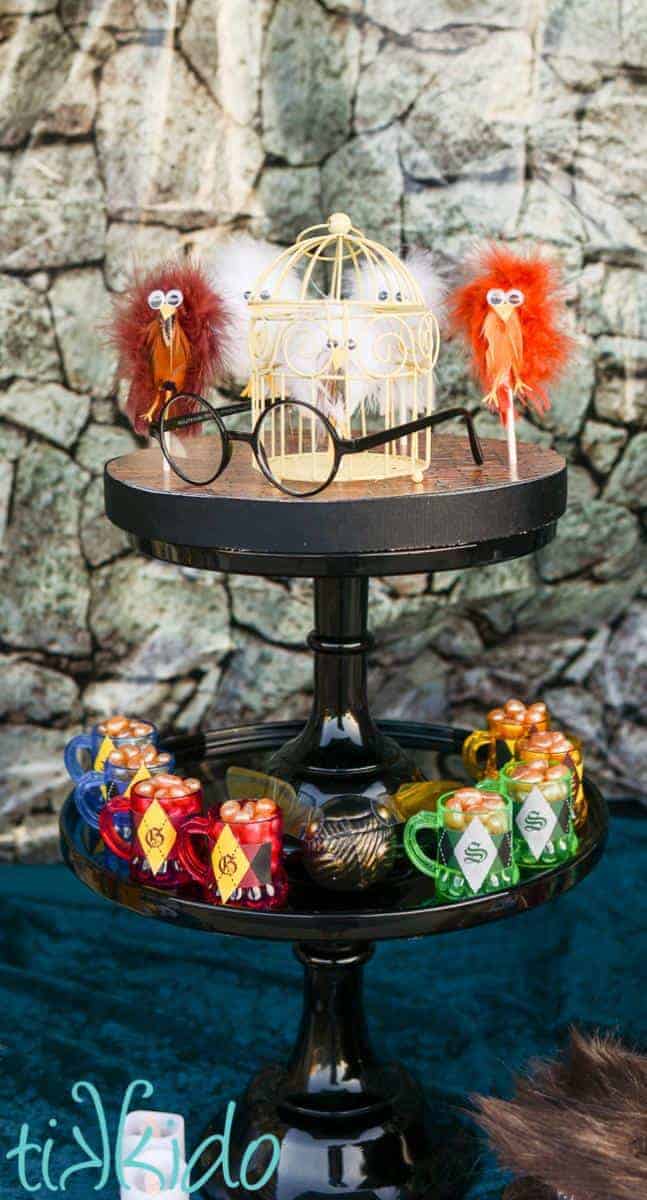
These are just way too clever. Not only are they super adorable owls, but they actually have a lollipop inside of them!! Uhmmm yes, please!! Hop over to Tikkido where Nicole shares her full tutorial.
7. DIY Harry Potter Prophecy Ball by More Than Thursdays
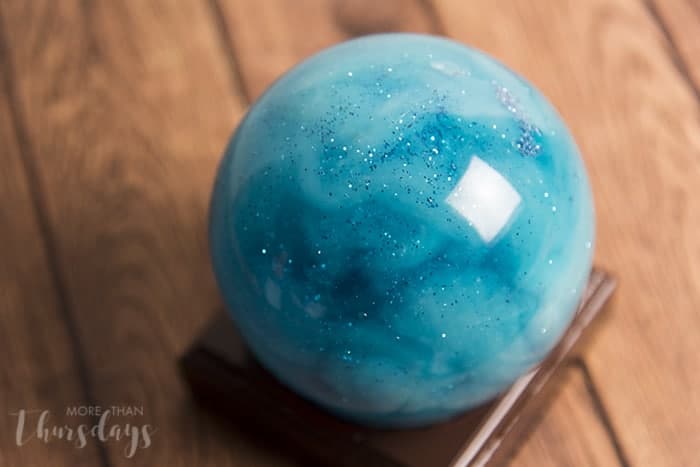
I really love this and I think it is brilliant. A DIY Prophecy Ball! Whilst this might look like it is complicated to make, it is in fact pretty easy. So hop over to More Than Thursdays to check out the tutorial.
And there you have our massive guide full of awesome Harry Potter art ideas. We would love to know which of these crafts you might like to try out. Please leave us a comment below and tell us all about it.
Till next time,
Samantha xxx
20 Cool Homemade Harry Potter DIY Crafts That You Should Make! was first published on: The Best Vinyl Cutters
via WordPress https://cuttercraftsbysamantha.wordpress.com/2018/11/22/20-cool-homemade-harry-potter-diy-crafts-that-you-should-make/
Looking for a super fun and crazy easy kids craft idea?
These crazy stone monsters are crazy for those rainy days. They are also brilliant to kill some time when the kids get bored over the school holidays.
I find that the activity is best suited for kids aged 5+ simply due to the fact that they need to hand paint the mouths, but of course, you can easily customize this activity to suit toddlers up to 5 years as well.
To make the activity more suitable for younger kids, I highly recommend that you simply create some sticker mouths with your sticker vinyl cutting machine instead. They will have loads of fun sticking on those mouths and I’m sure you will end up with some truly weird and wonky monsters.
Click here to find the best vinyl cutting machine for stickers.
The rocks are really easy to make, but we have shared some step-by-step instructions below for those who wish to follow instructions.
DIY Monster Stone Crafts for Kids
Find below the materials needed as well as the step-by-step instructions to help you recreate these cool stone monsters.
Supplies List:
- Smooth Stones for Craft Purposes
- Variety of Acrylic Paint Colors
- Paintbrushes
- Googly Eyes in Different Sizes
- Fast Drying Liquid Glue
Instructions:
Step 1: Choose 5 stones and completely cover each stone in one color of paint. Set aside to dry (or use a hair dryer to speed up the process).
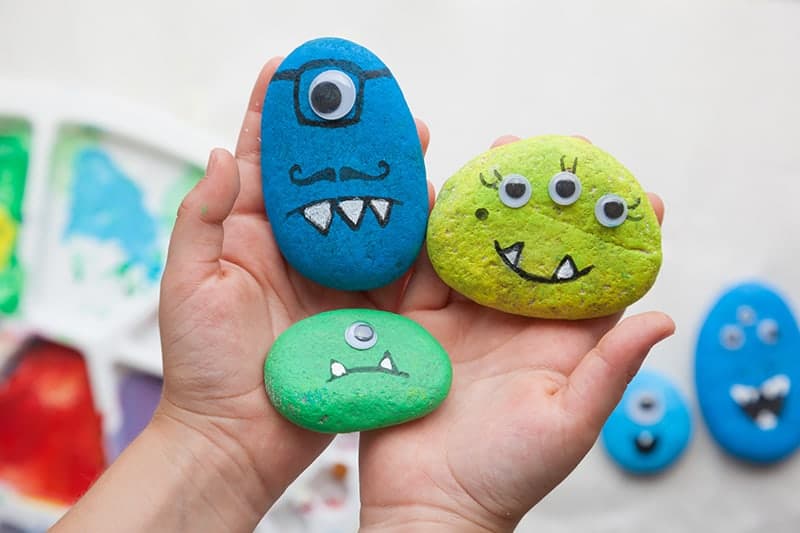
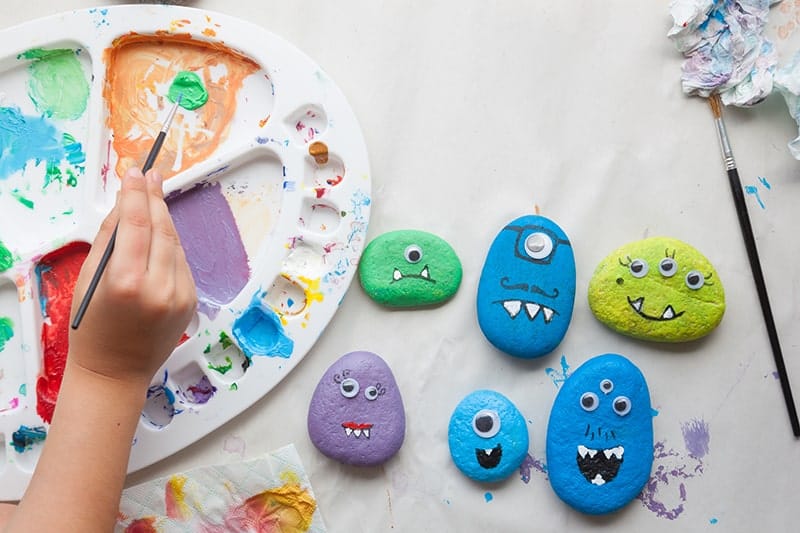
Step 2: Use the liquid glue and have some fun with adding some googly eyes. Use the photo below for inspiration. Really have a good think about what your monsters eyes should be like.
Try mixing up a larger eye with a smaller one. What about creating a 3 eyes monster, or maybe make a cyclops monster with only one big eye.
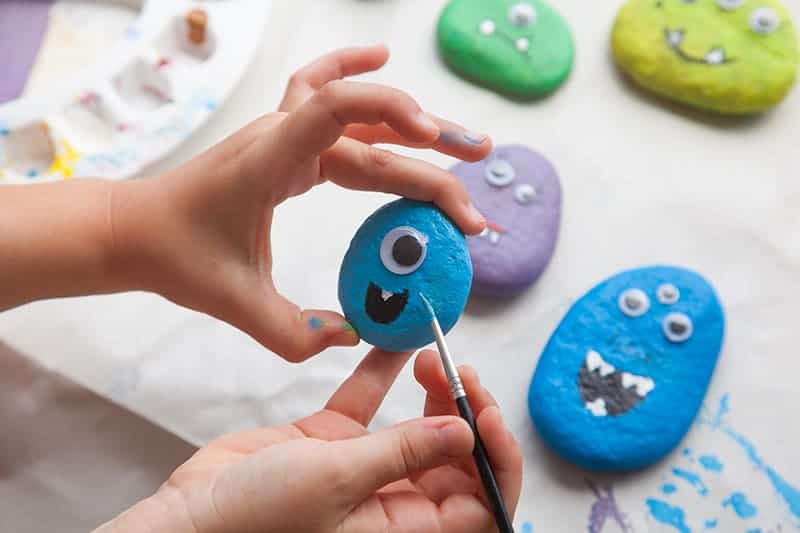
Step 3: Finish off your rocks by giving your monster a mouth. I find it easiest to use black for the mouth outline, white for the teeth and some red if they wish to add some lips. But of course these are monsters, so let your kids create whatever color mouth they wish to make.
Again you can use the photo below for inspiration or come up with your own fun designs.
Step 4: Set your monster stones aside to dry properly.
Now, remember the idea is to come up with some truly weird and wacky ideas. So step away from the normal and really truly just let your mind go crazy with ideas.
Here are some more rock designs to get your brain ticking.

This stone art and craft project is lots of fun to do. I find that girls and boys both equally enjoy creating these rock monsters.
I would love to know if you are planning on making these monsters. I find it fascinating seeing what the kids come up with – it is like a little peek into their imagination – fabulous!
Well, that is all from me.
Till next time,
Samantha xxx
Easy DIY Stone Monsters Craft Tutorial for Kids is courtesy of: Blog: The Best Vinyl Cutters
via WordPress https://cuttercraftsbysamantha.wordpress.com/2018/11/21/easy-diy-stone-monsters-craft-tutorial-for-kids/

Hi, I’m Sam!
I’ll be honest, I’m a total vinyl cutter addict! I could easily lose myself in a day filled with vinyl cutting projects! I have a whole career based on working with vinyl cutting machines! I worked with smaller vinyl cutters in a papercraft wholesale distribution warehouse. Later I coached those who were interested in turning their cutting crafts into small businesses. I have used all the machines that I recommend and have personal experience with both the positive and the negatives of each of these machines! I hope you find all the answers you are looking for, right here on my site!
 RSS Feed
